Role management through SCIM
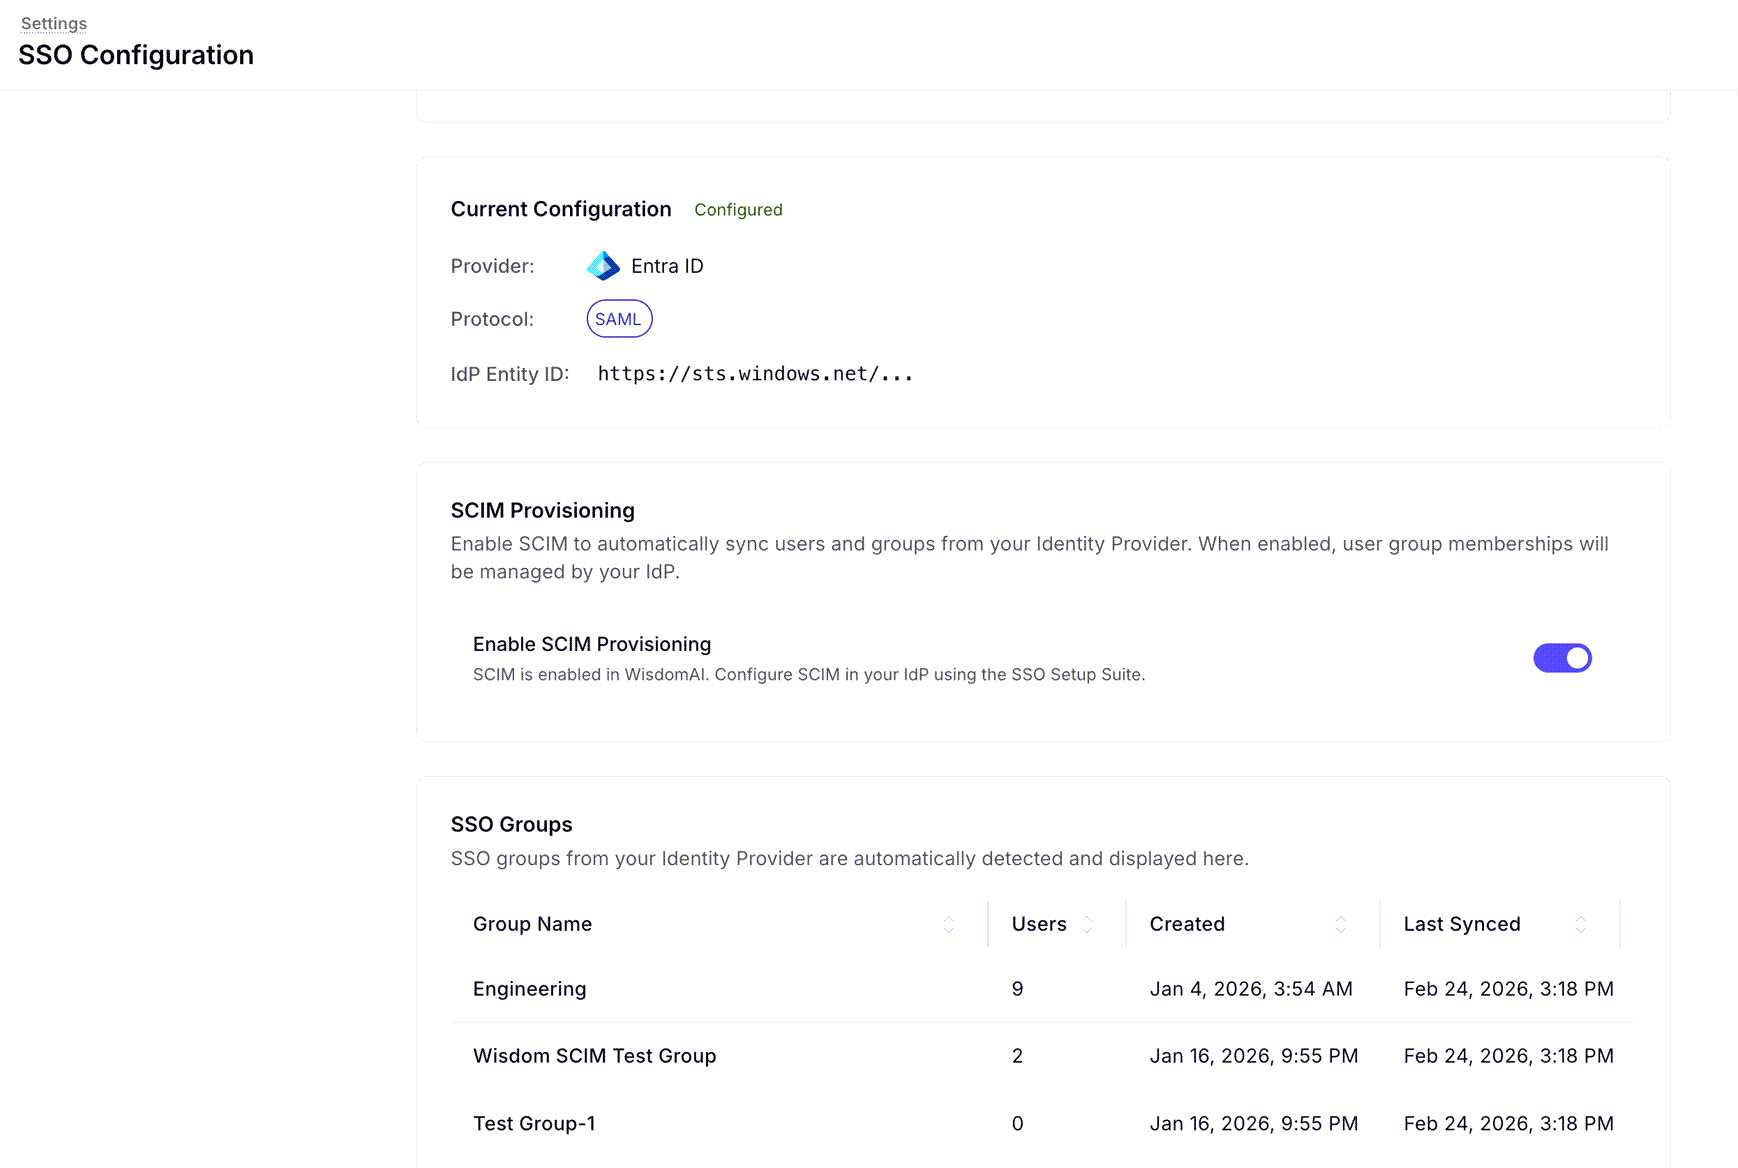
When SCIM is enabled, your existing SSO groups are automatically detected and synced to Wisdom.-
View Synced Groups: Navigate to the SSO Groups list in the SSO Configuration settings to see groups like “Engineering” or “Sales” along with their sync status.
-
Assign Roles to Groups: Use the Add SSO Group button to link a synced group to a specific WisdomAI role (e.g., Explorer).
Any user belonging to that SSO group will automatically inherit the assigned roles and domain permissions in WisdomAI.
Role management through claims
If you prefer not to use SCIM groups, you can configure roles based on “claims” within the IDP’s JSON Web Token (JWT). How the mapping works:- When a user logs in, WisdomAI reads a specific claim from the JWT (typically named
rolesorgroups) which contains a list of strings. - An SSO Group in WisdomAI acts as a bridge. It maps a specific string element from that JWT list to the assigned WisdomAI Role.
- If a user’s JWT contains the string
"marketing_admin", and you have created an SSO Group in Wisdom that maps"marketing_admin"to the Explorer role, that user is automatically granted those permissions.
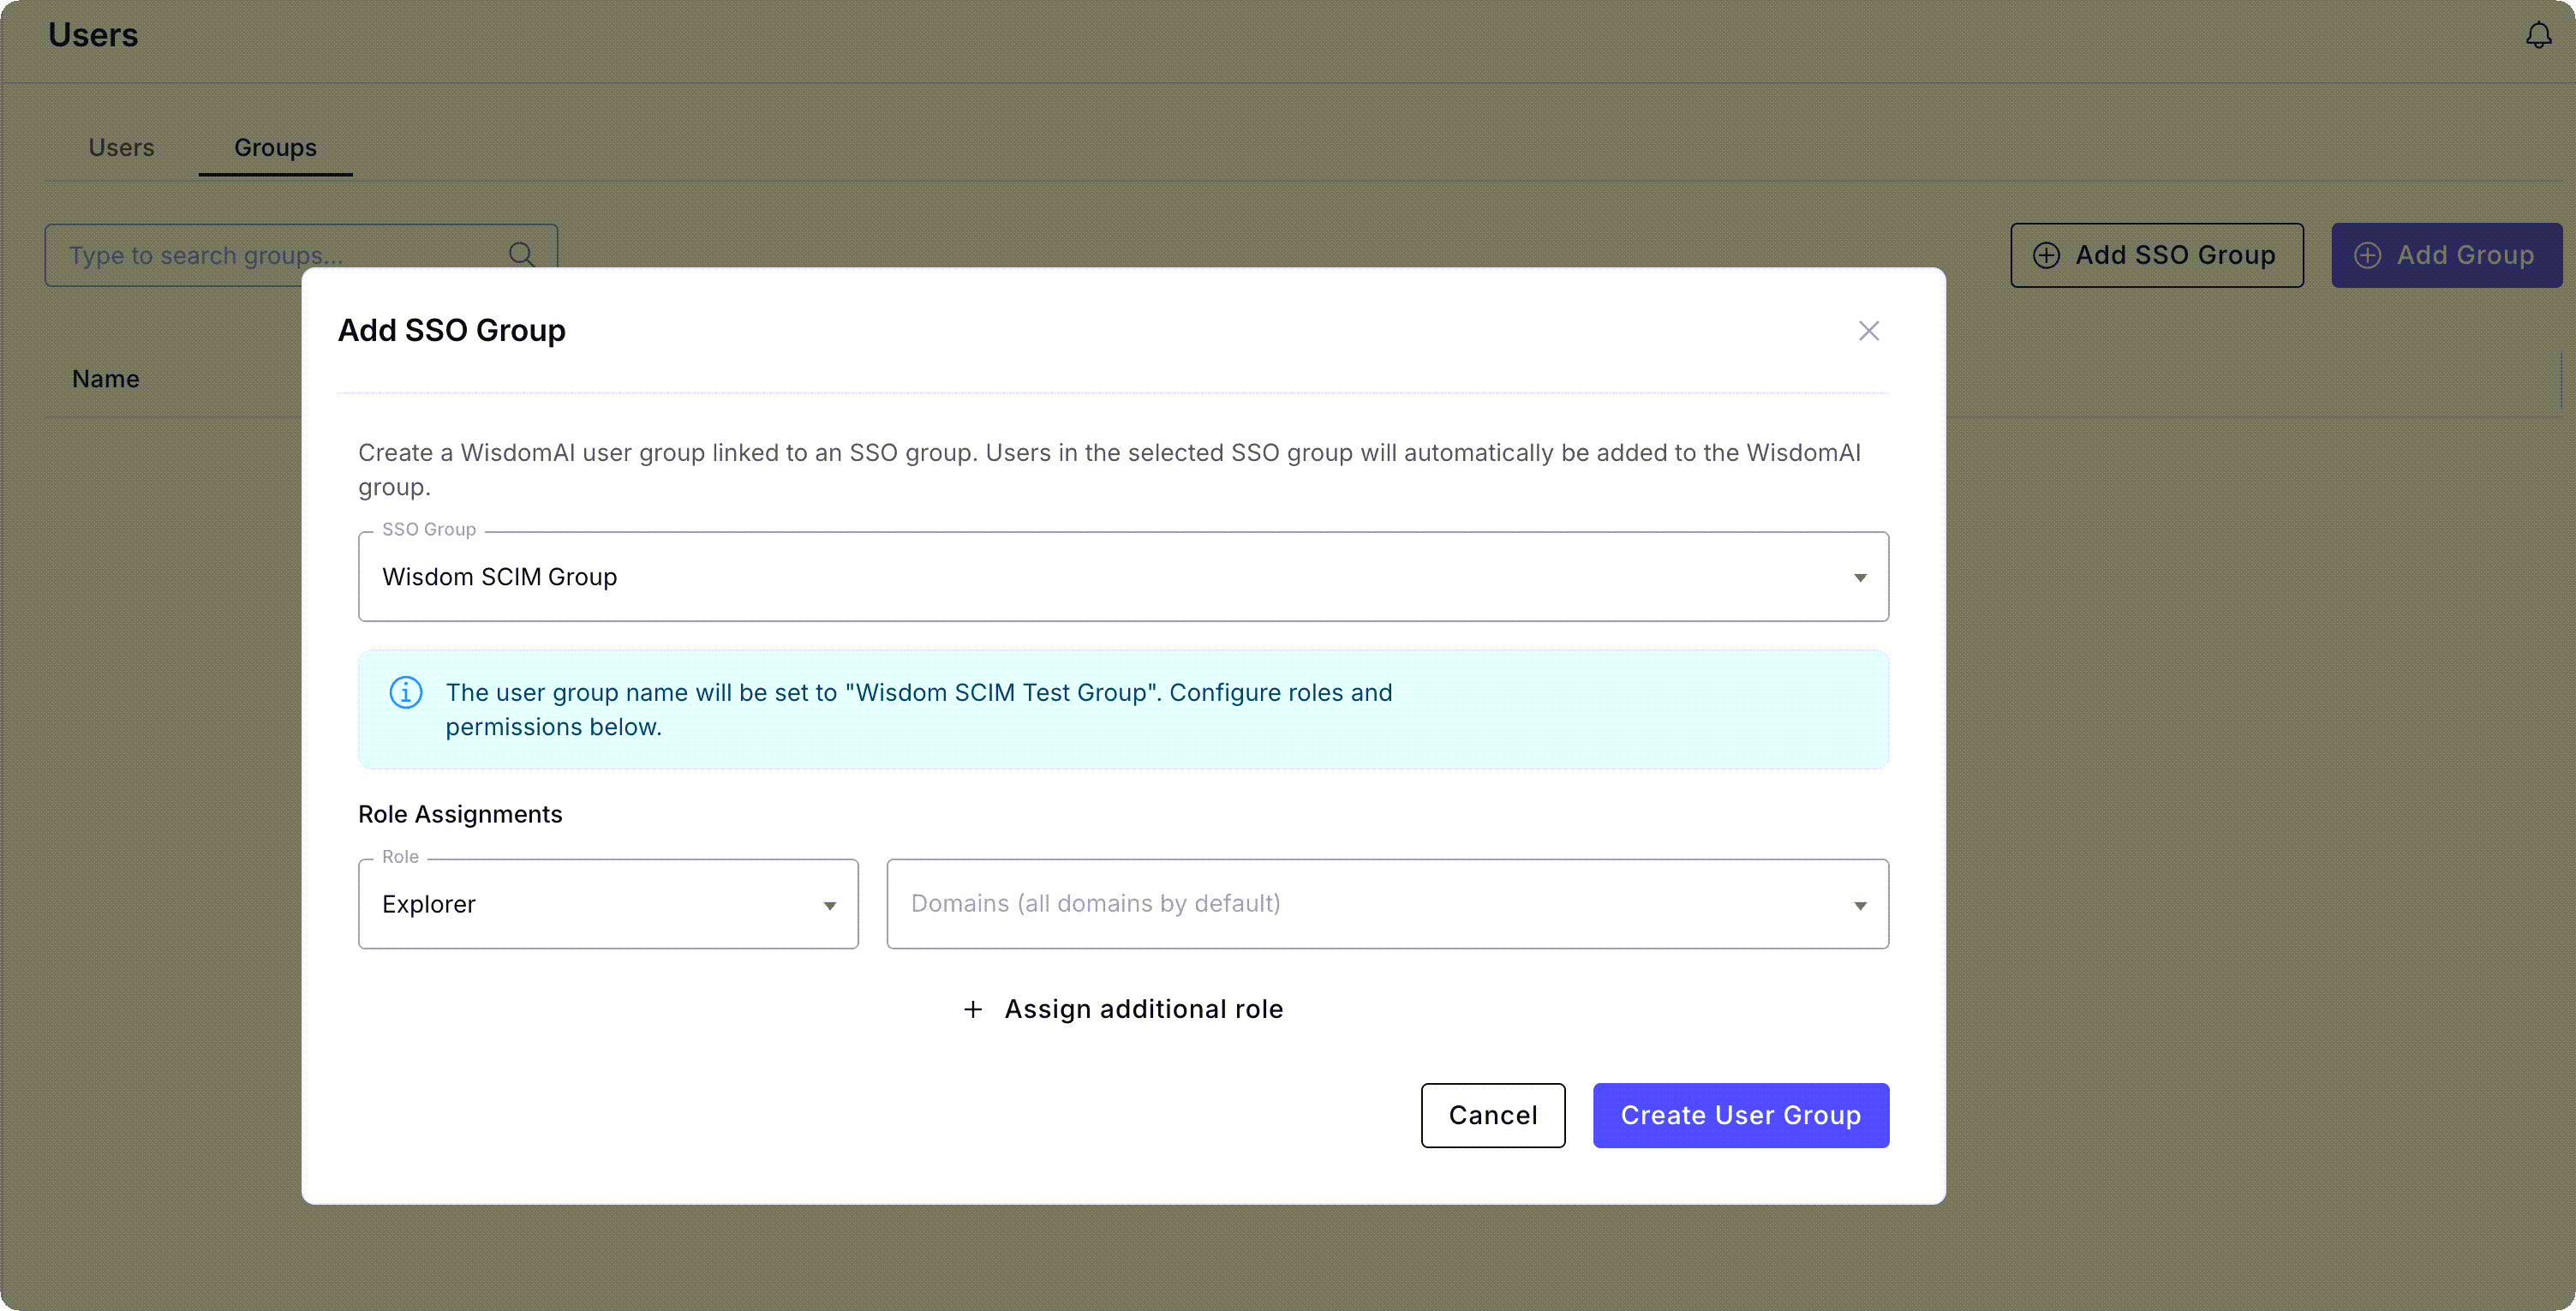
- Click the Add Group button.
-
In the Add SSO Group modal that opens, enter the string element that matches your IDP claim in the SSO Group Name field.
The claim should be a list of strings.
- Role Assignments: Select the Role (e.g., Explorer) and the corresponding Domains to be mapped to that string.
- Click Create User Group to finalize the mapping.
Auto SSO group generation
To avoid manual mapping entirely, WisdomAI can auto-generate groups based on a specific string schema in your IdP claims. Each claim string must follow this schema:wisdom.[optional_workspace_uri].role.[optional_scope_type].[optional_scope]
wisdom.prefix for namespace and versioning purposesoptional workspace URI.(default workspace if not given)role.(one of administrator, data_administrator, explorer, observer)optional scope type.(required if scope is given)optional scope(required if scope type is given)
wisdom.explorer: Assigns the Explorer role on all domains in the default workspace.wisdom.foo.explorer: Assigns the Explorer role on all domains within the “foo” workspace.wisdom.explorer.DOMAIN.ET_DOMAIN_foo: Assigns the Explorer role to a specific domain in the default workspace.wisdom.foo.explorer.DOMAIN.ET_DOMAIN_bar: Assigns the Explorer role on a specific domain in the foo workspace.
Next steps
Supported Data Sources
Explore the full list of databases and platforms you can connect to the system.
How WisdomAI Works
Understand the core concepts and architecture behind the platform’s data analysis capabilities.
Basic Tutorial: Connect and Test
Walk through the initial setup to connect a data source and run your first query.