

Before you start
Every WisdomAI user can create and manage their own API keys — no special role is required. What a key can access is determined by its creator’s permissions. By default, you see only the keys you created. Administrators can also see keys created by other users (see View other users’ keys).Open the API Keys page
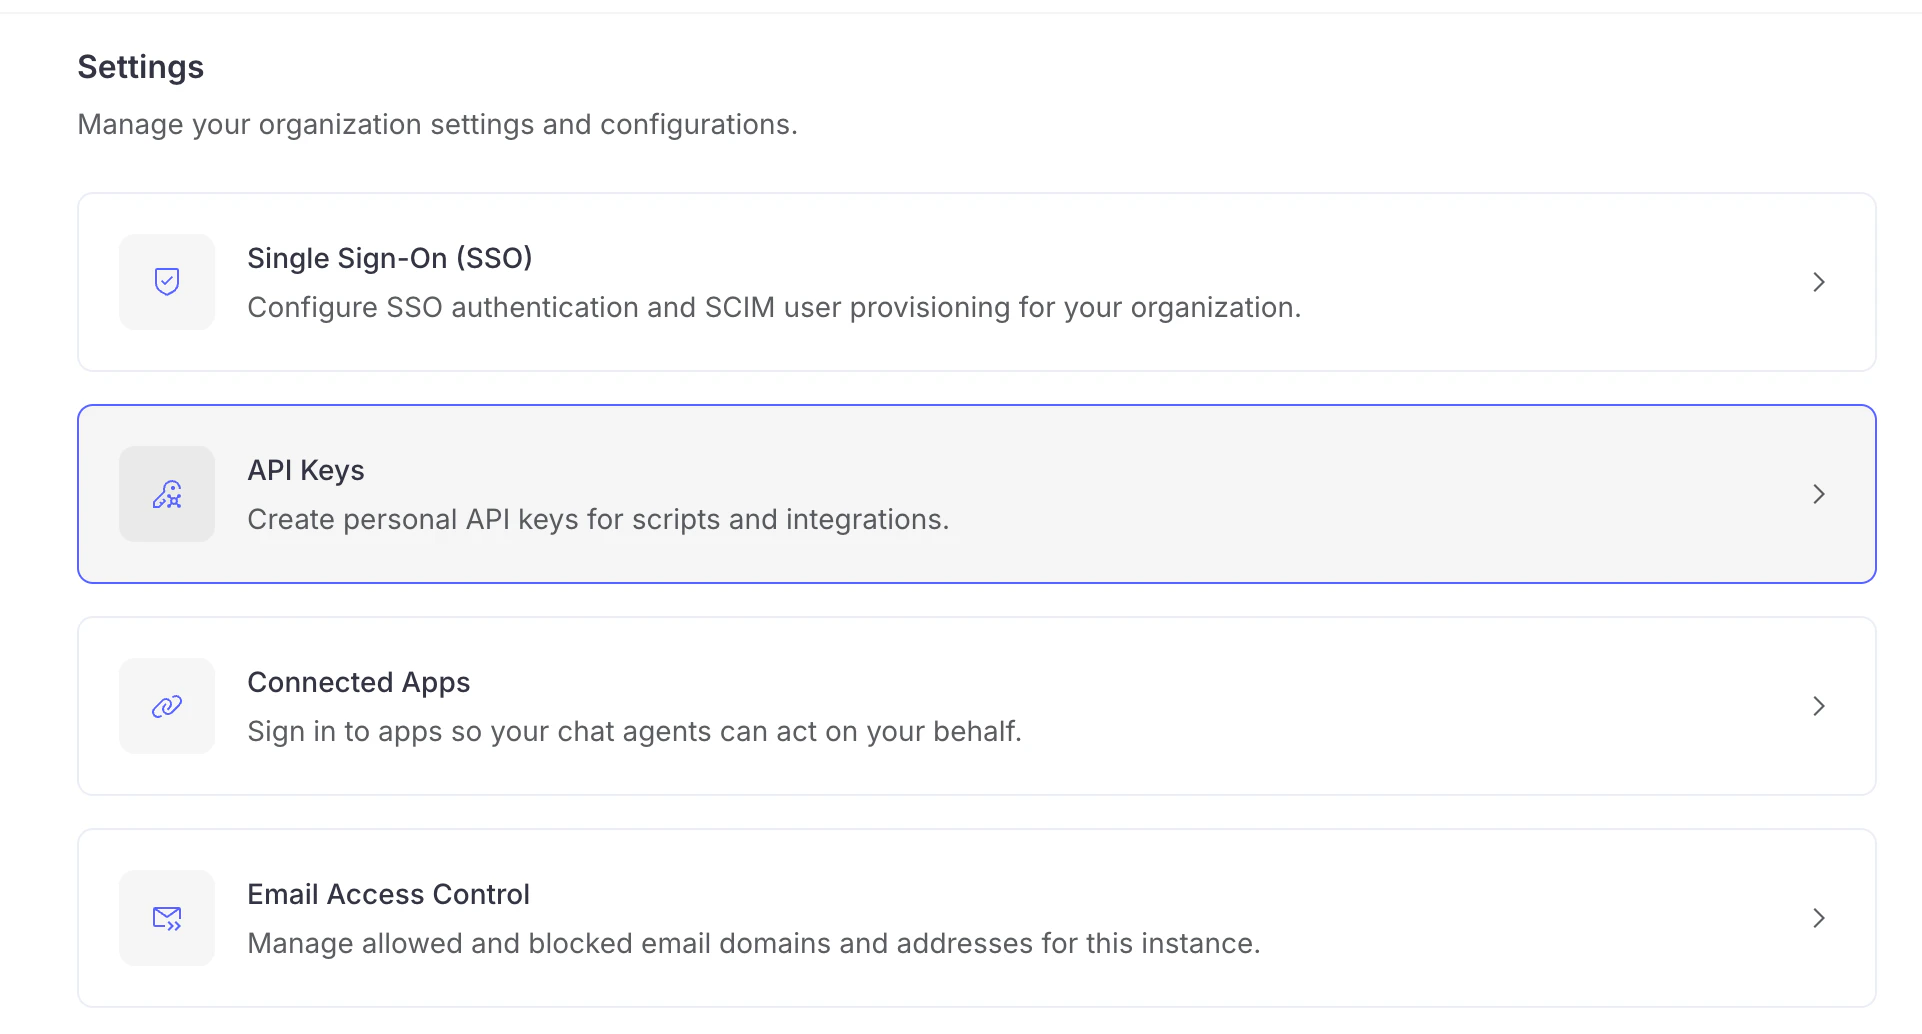
- In the left-hand navigation, click the Settings icon.
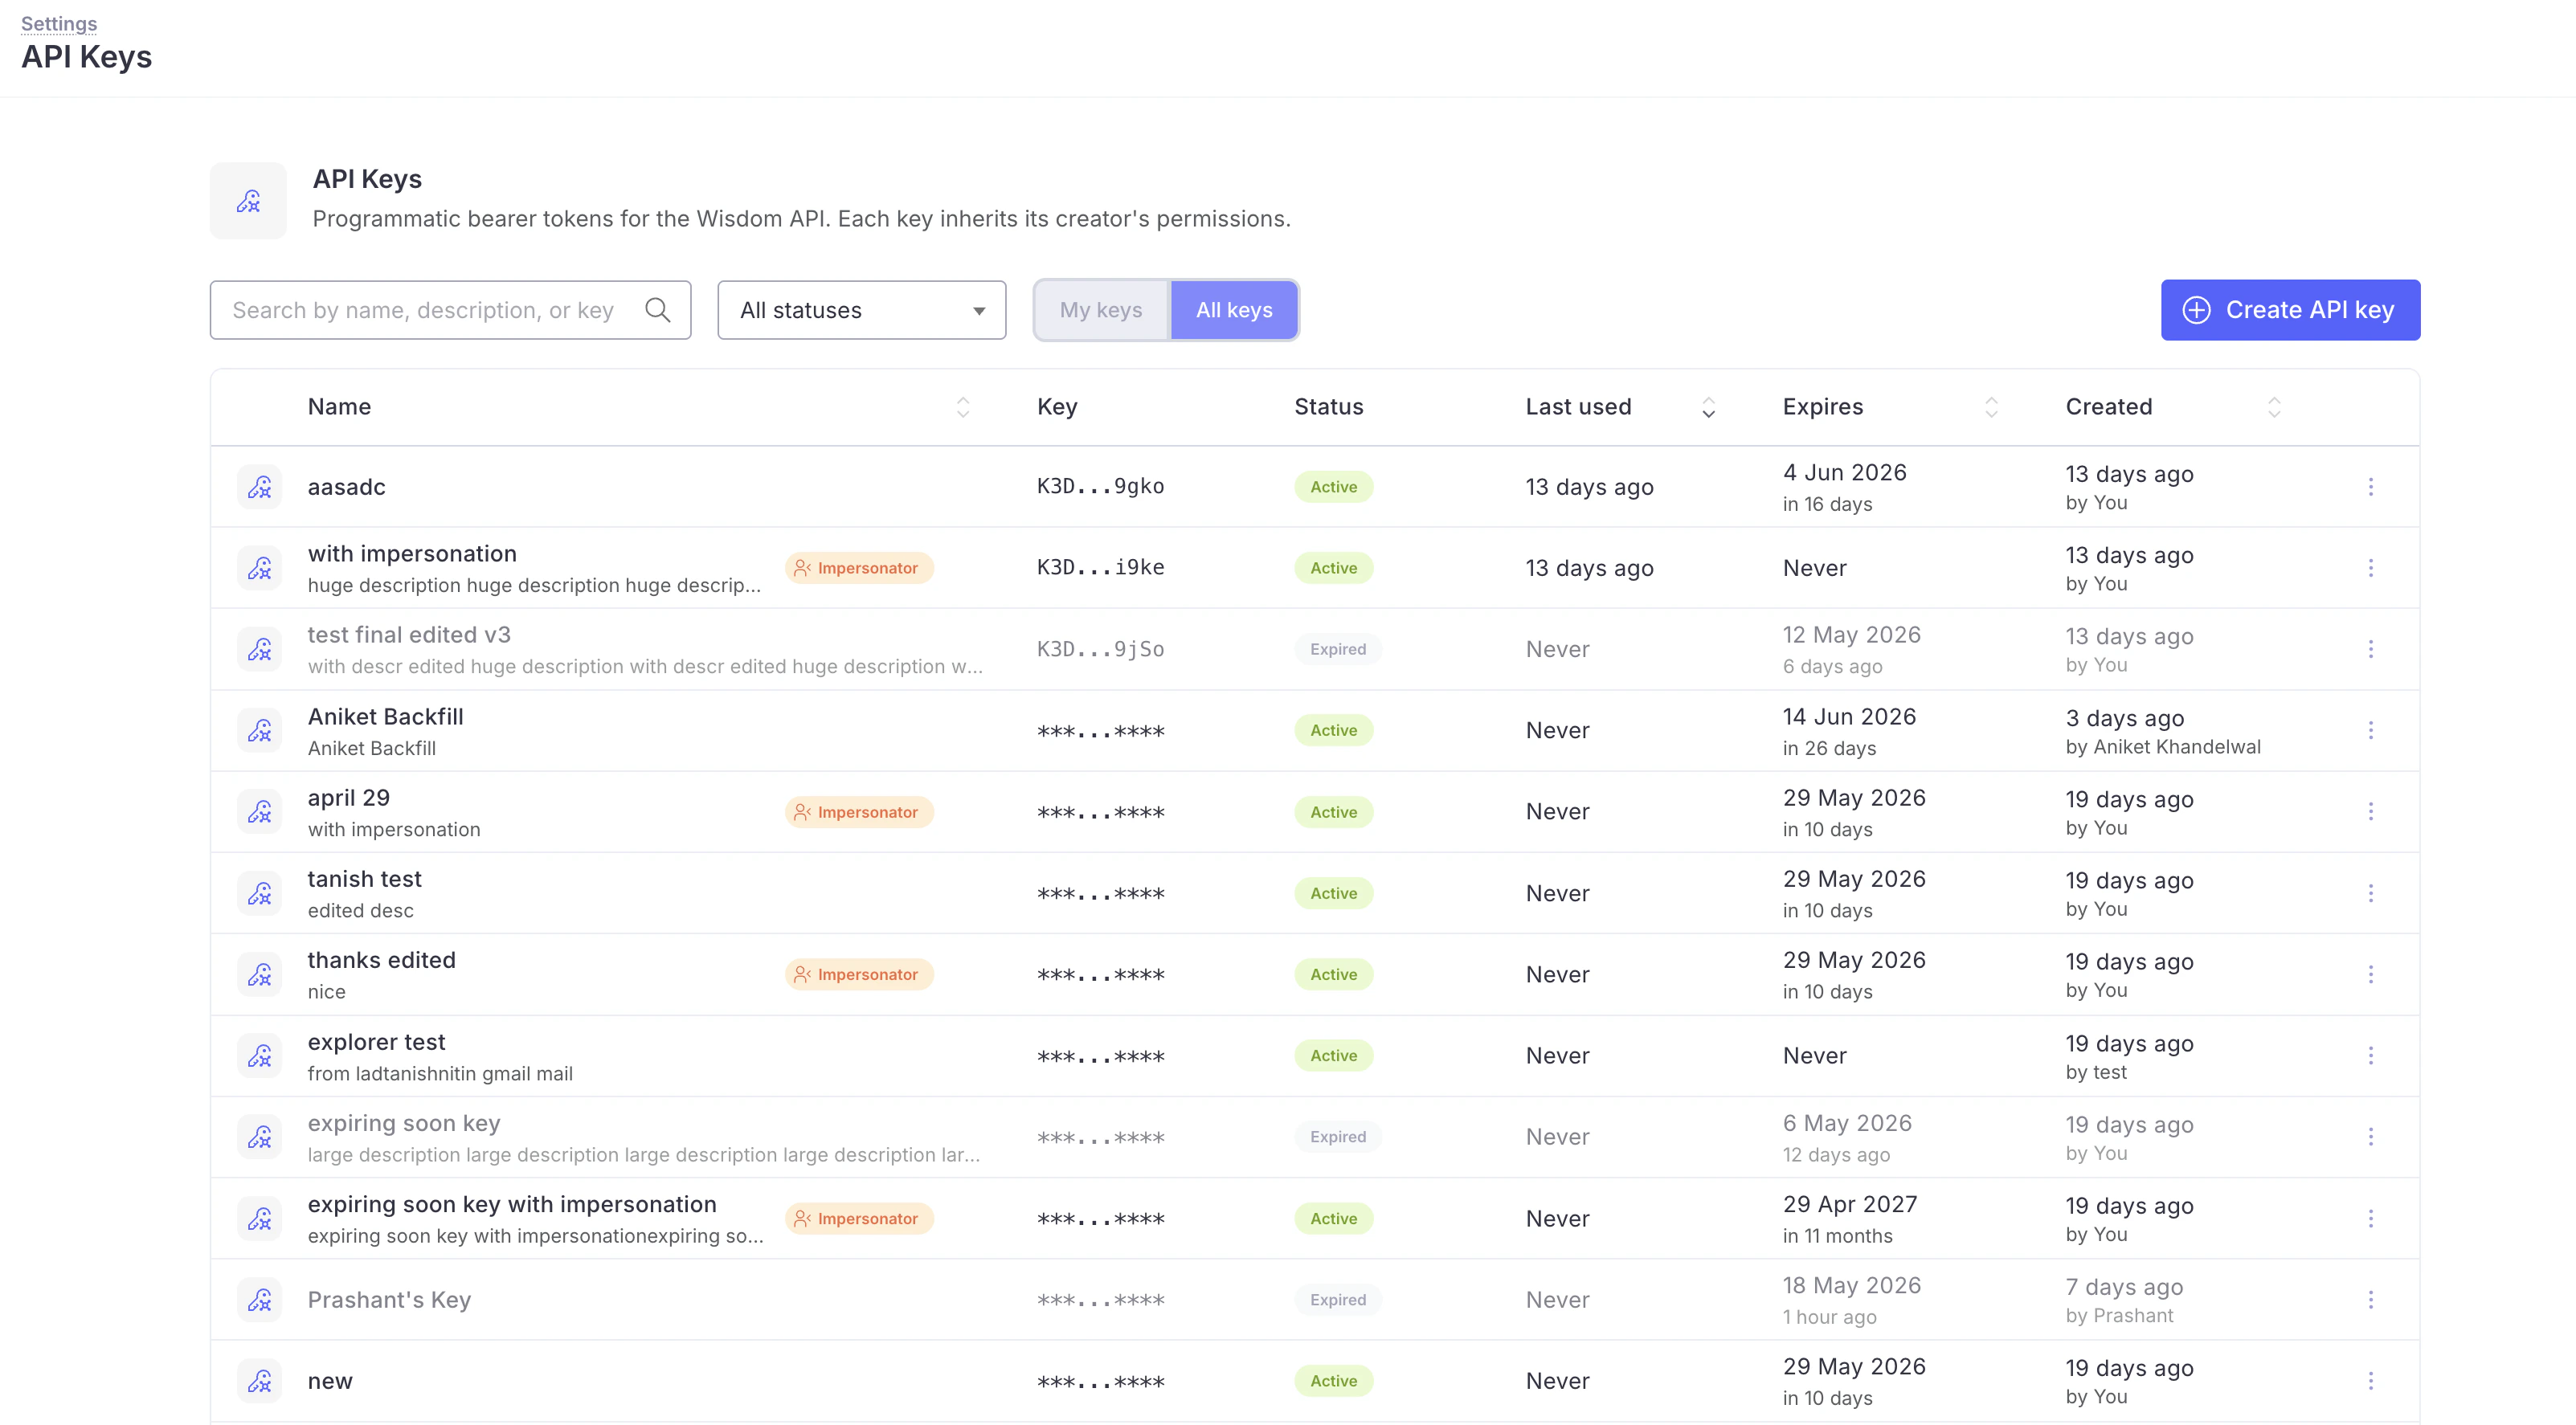
- On the Settings page, select API Keys.
Create an API key
- Click Create API key in the upper-right of the table.
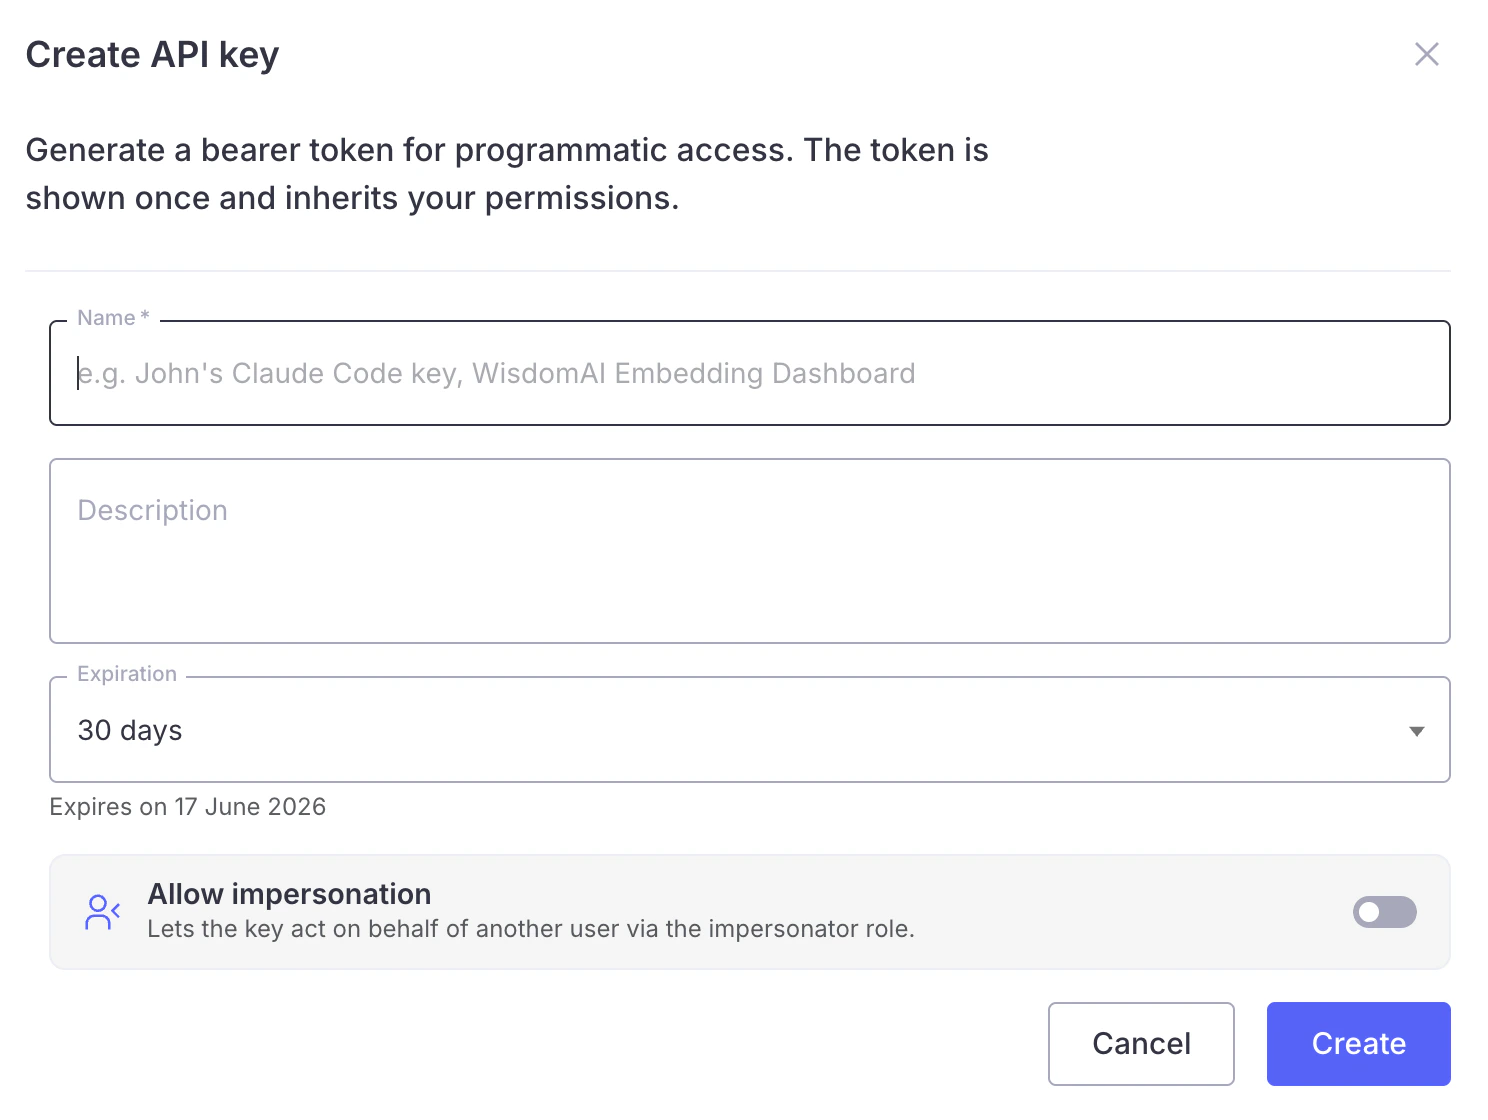
- In the Create API key dialog, fill in the fields:
- Name (required) — a label that identifies where the key is used, for example
Claude Code keyorEmbedding Dashboard. - Description (optional) — a note about what the key is for.
- Expiration — how long the key stays valid. Choose 7 days, 30 days, 90 days, 180 days, 1 year, or Never. The dialog shows the exact expiry date below the field.
- Allow impersonation (optional) — lets the key act on behalf of other users. This toggle only appears for embedded-application use cases. See Impersonation keys for embedded applications.
- Name (required) — a label that identifies where the key is used, for example
- Click Create.
Copy your key
After you click Create, WisdomAI shows the new token once, on the API key created screen.- Click the copy icon next to the token, or select the text and copy it manually.
- Store the token somewhere secure, such as a secrets manager or your integration’s environment configuration.
- Click Done.
Use an API key
Pass the token as a bearer token in theAuthorization header of your API requests:
Impersonation keys for embedded applications
If you embed WisdomAI inside your own application, your backend needs a way to sign each of your end users into WisdomAI. An impersonation key makes this possible: it can act on behalf of other users. Your server uses an impersonation key as the access token for theimpersonateUser query, which returns a short-lived JWT for a specific user. You then pass that JWT into the WisdomAI iframe. See Impersonate User for the full embedded session flow.
Create an impersonation key
In the Create API key dialog, turn on the Allow impersonation toggle before you click Create.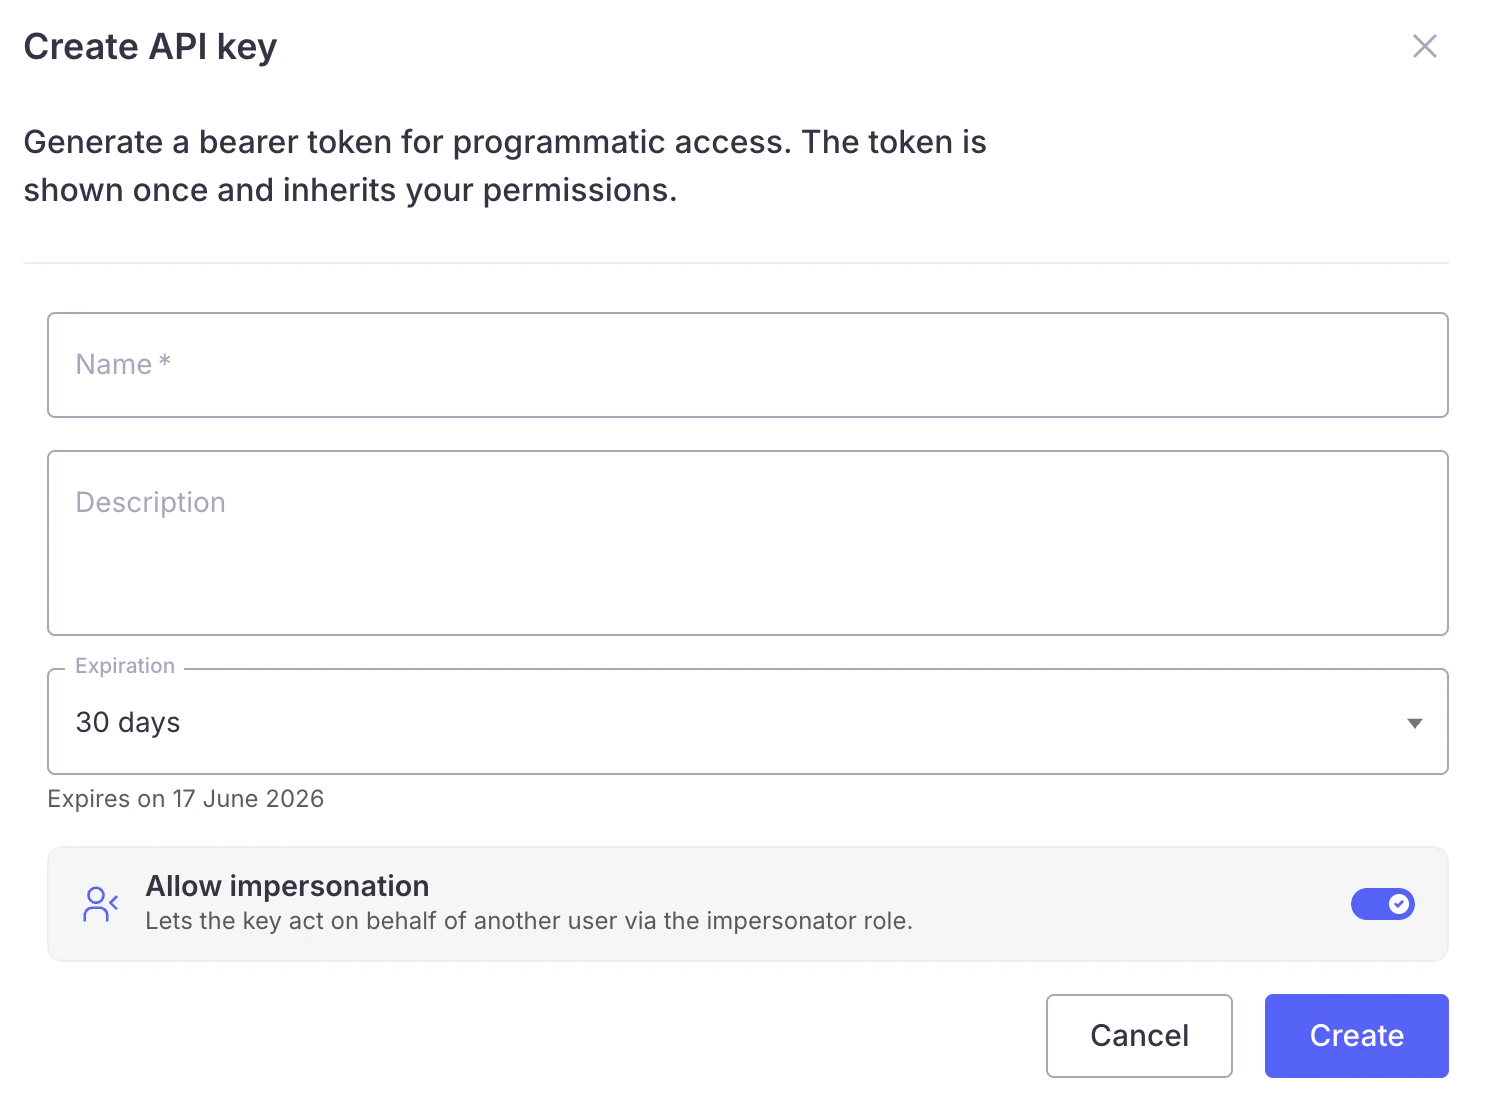
The Allow impersonation toggle appears only when your deployment supports impersonation and your own account is permitted to grant it. If you’re building an embedded integration and don’t see the toggle, contact WisdomAI support.
Impersonation is set when the key is created — it cannot be added to or removed from an existing key. To change it, create a new key and revoke the old one.
Understand key status
The Status column reflects how close a key is to expiring:
Expired keys remain in the table for reference but cannot be used or edited. Revoked keys are removed from the table.
Find a key
When you have many keys, use the controls above the table to narrow the list:- Search — filter by name, description, or the masked key fragment.
- Status — show All statuses, or only Active, Expiring soon, or Expired keys.
Edit an API key
You can update a key’s name and description at any time. The token itself, its expiration, and its creator never change.- Click the ⋮ (more) menu at the end of the key’s row.
- Select Edit API Key.
- Update the Name or Description.
- Click Save changes.
Editing is disabled for expired keys. To replace an expired key, create a new one and revoke the old one.
Revoke an API key
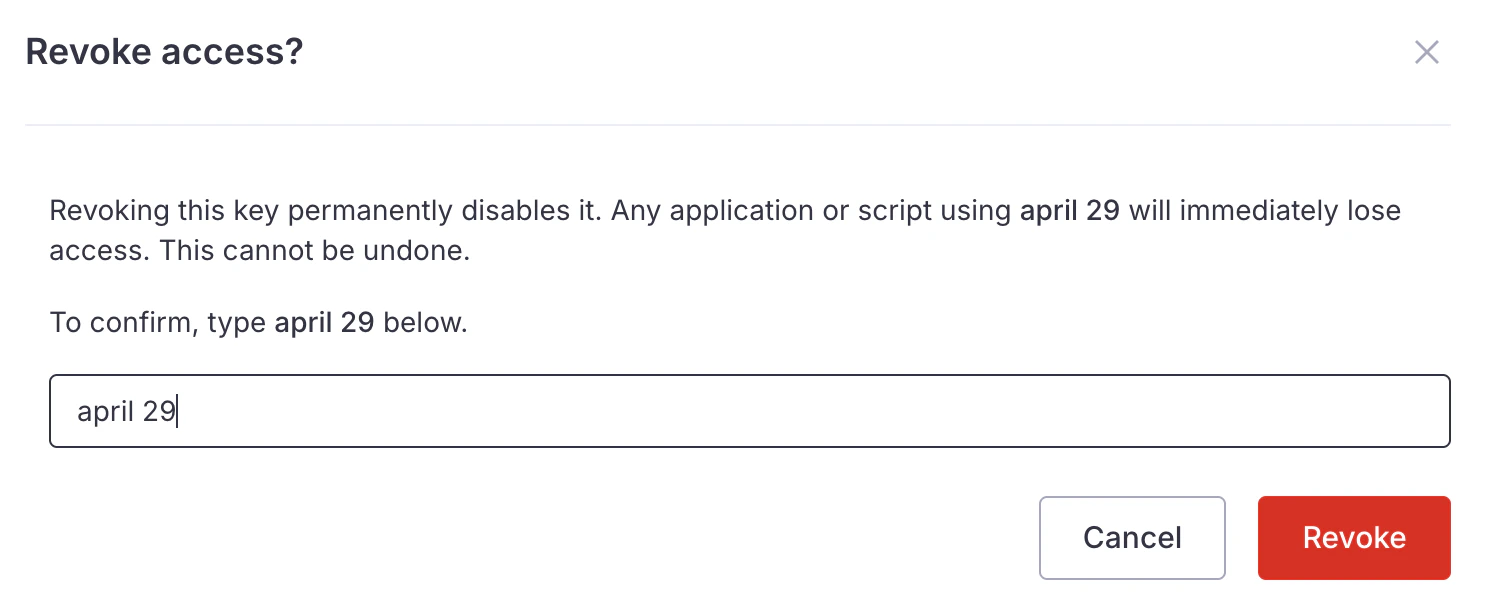
Revoking a key permanently disables it. Any application or script using that key immediately loses access.- Click the ⋮ (more) menu at the end of the key’s row.
- Select Revoke API Key.
- In the Revoke access? dialog, type the key’s name to confirm.
- Click Revoke.
View other users’ keys
If you are an administrator, a My keys / All keys toggle appears next to the status filter:- My keys — shows only the keys you created.
- All keys — shows keys created by everyone in the organization. The Created column adds the creator’s name so you can tell keys apart.
Security best practices
Give each integration its own key
Give each integration its own key
Create a separate key per script or integration, with a clear name. If one key is compromised, you can revoke it without disrupting everything else.
Set an expiration and rotate keys
Set an expiration and rotate keys
Prefer a fixed expiration over Never. Before a key reaches Expiring soon, create a replacement, update your integration, and revoke the old key.
Store tokens securely
Store tokens securely
Keep tokens in a secrets manager or environment variables — never commit them to source control or paste them into shared documents.
Revoke keys you no longer need
Revoke keys you no longer need
Because a key inherits its creator’s permissions, an unused key is a standing risk. Revoke keys for retired integrations and for users who have left the organization.
Next steps
GraphQL API
Use your API key to query WisdomAI programmatically.
WisdomAI MCP Server
Connect WisdomAI to MCP-compatible tools and assistants.
Email Access Control
Control which email domains and addresses can access your instance.
Access Management
Learn how WisdomAI roles and permissions work.