Document tables
For each table in your data model, you can configure the following fields:| Field | Description | Example |
|---|---|---|
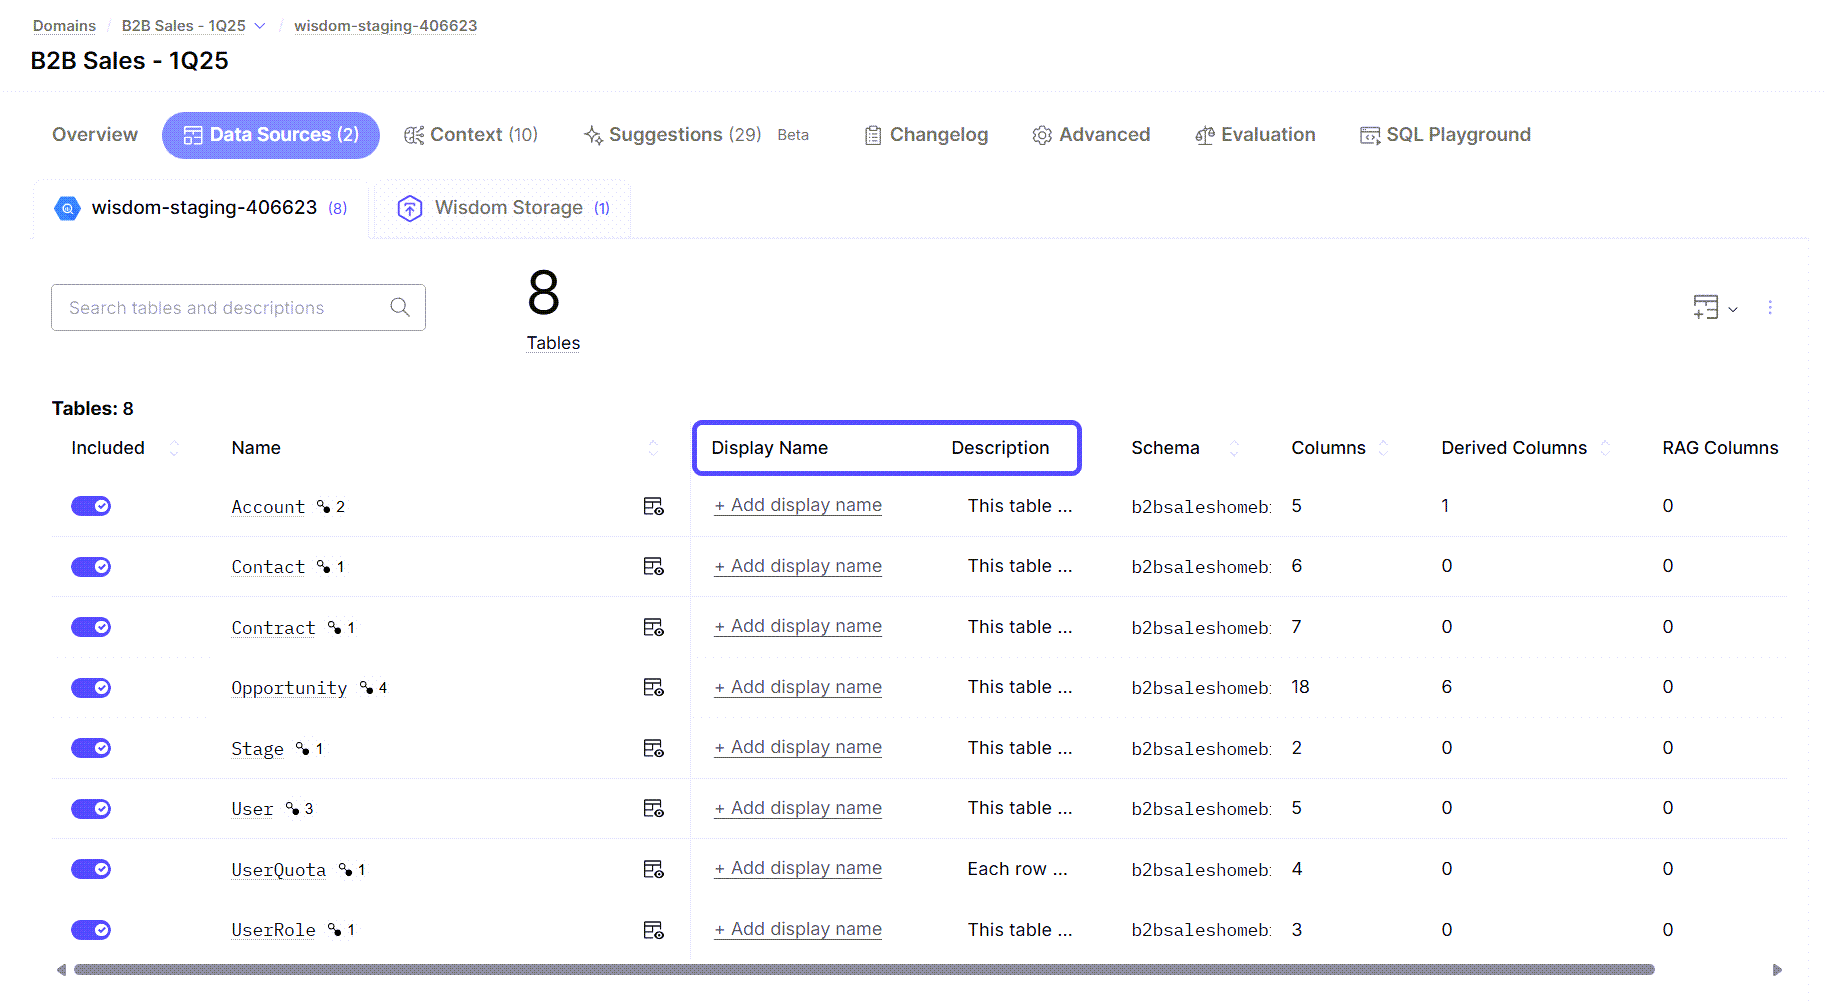
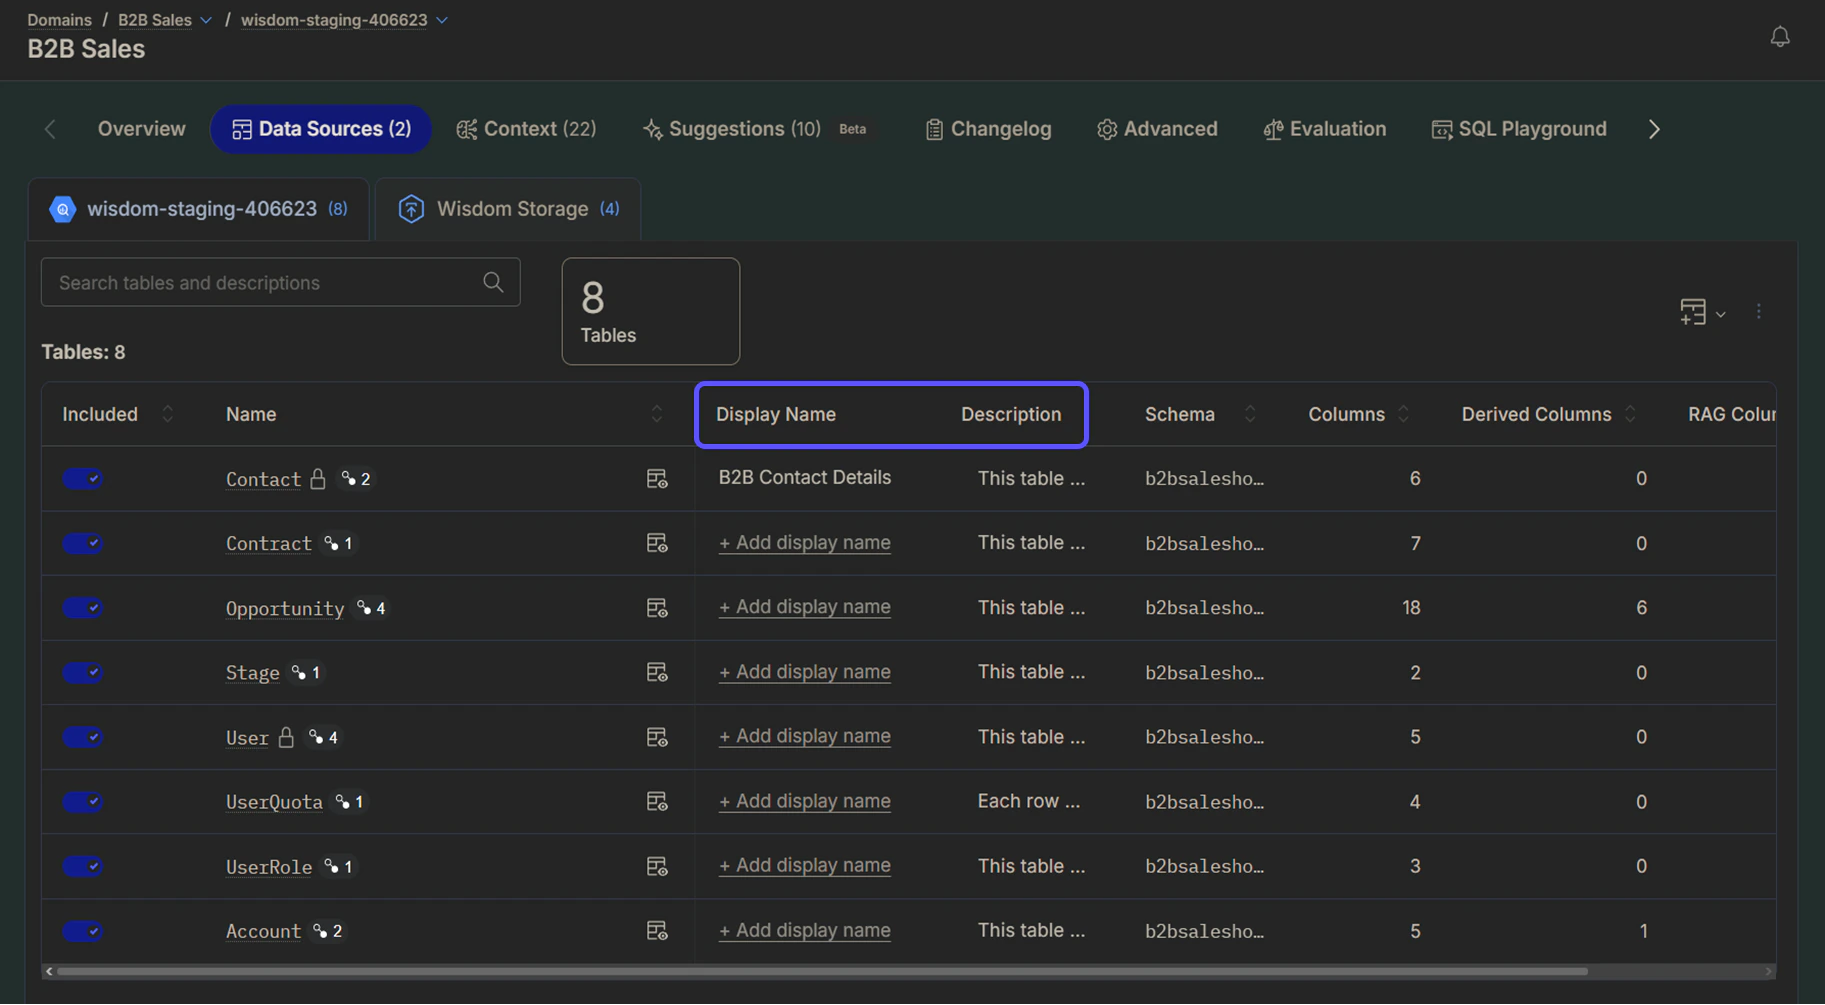
| Display Name | A business-friendly alias that replaces technical or system-generated table names. You can assign unique display names to the same table across different domains. If left blank, the system defaults to the technical table name for SQL generation. | The table named “contact” can be displayed as “B2B Contact Details” to clarify the type of contact data it represents. |
| Description | In this field, you should provide a clear explanation of what the table represents, focusing on a concise, plain-English description of each row’s purpose and content. | This table stores detailed records of business accounts that have monthly revenue exceeding $10,000. Each row represents a single account and includes fields such as account ID, account name, industry classification, account creation date, current status (active, inactive, suspended), monthly revenue amount, and primary contact information. |
Document columns
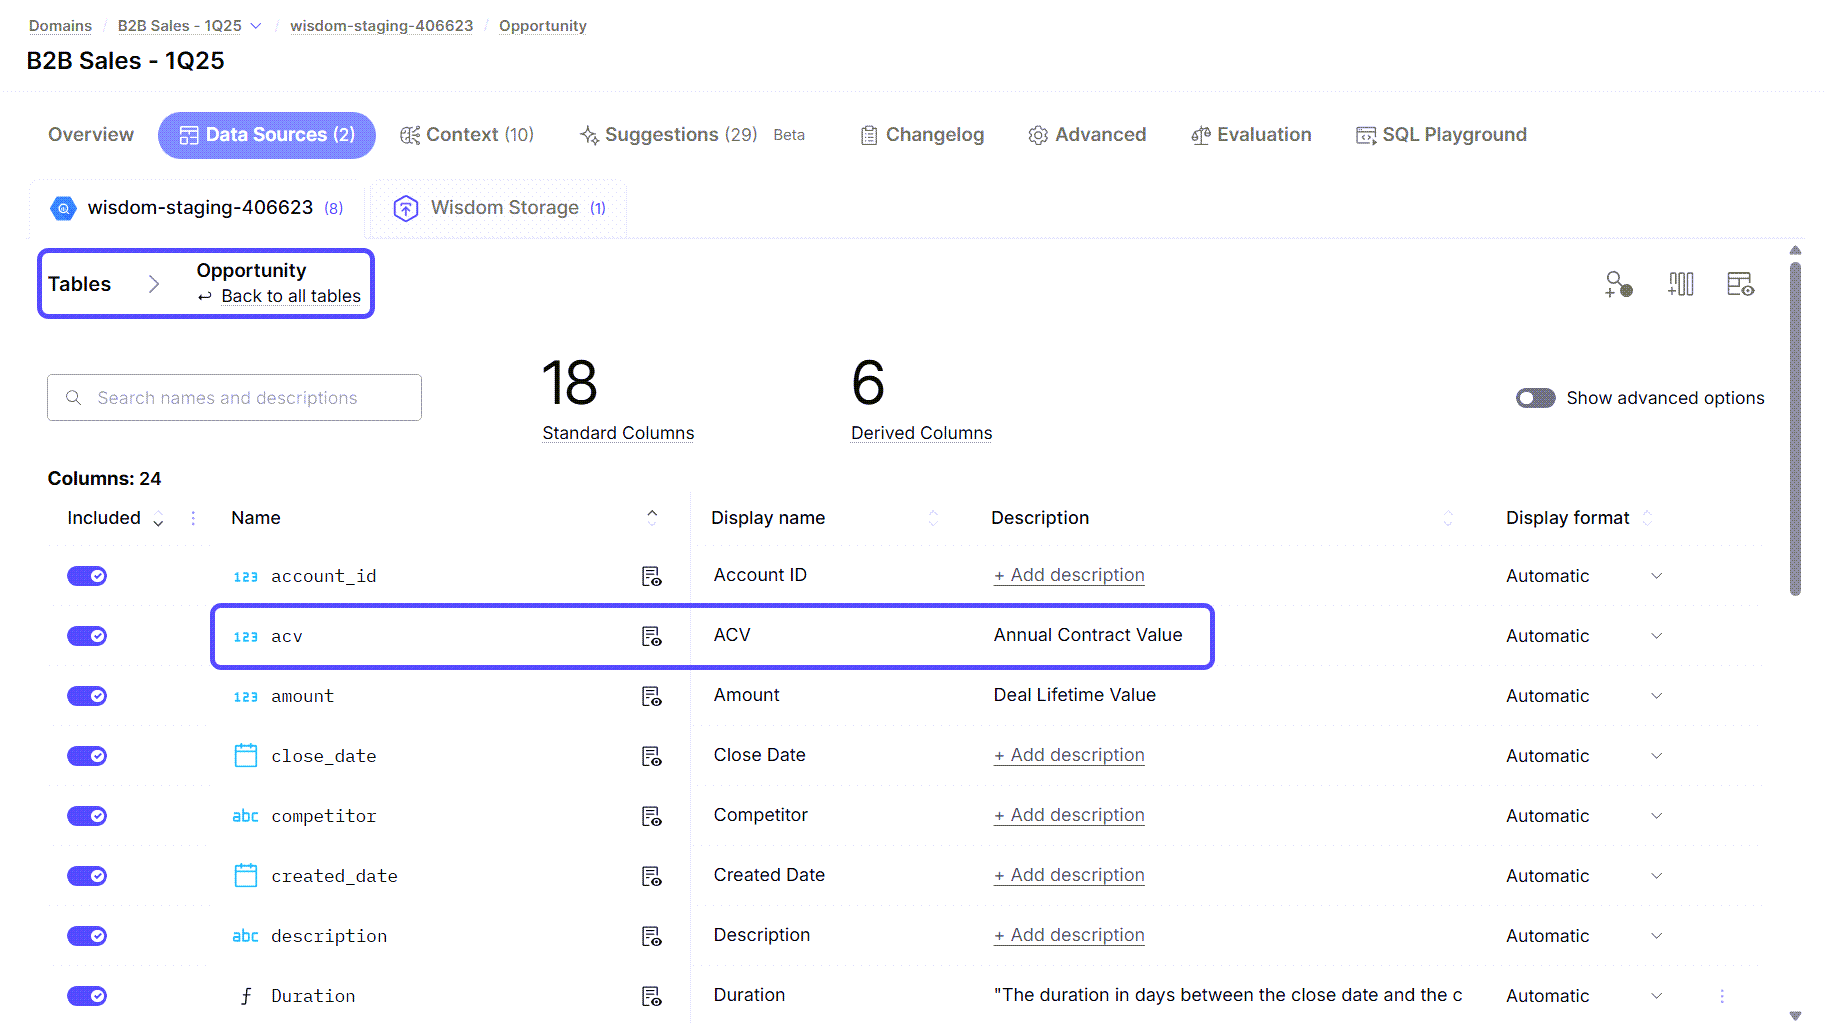
To document columns, click on the table’s name. A new page will open, displaying a list of all the columns in the table. You can configure the following fields:| Field | Description |
|---|---|
| Display Name | User-friendly name shown in the interface replaces technical or system-generated table names. You can assign unique display names to the same table across different domains. If left blank, the system defaults to the technical table name for SQL generation. |
| Description | Clear explanation of what the column represents in business terms. |
| Display Format | A dropdown menu used to specify how data is presented to users. You can choose from options such as Date, Fiscal Year, Currency, Percentage, or Time to ensure the AI renders results in the most readable format. |

Next steps
Advanced Data Modeling
Define relationships and context in your data to enable more powerful analysis.
Provide Feedback to the System
Learn how to rate answers and provide corrections to improve the system’s accuracy.
Understand Domains
Manage and customize your data domains to refine context and improve query results.