> ## Documentation Index
> Fetch the complete documentation index at: https://docs.wisdom.ai/llms.txt
> Use this file to discover all available pages before exploring further.
# Advanced Data Modeling: Creating Context
This article, intended for Admin users and Data Administrators, details the three primary methods for creating and curating Context to improve AI-powered analytics in responses. The main goal of this page is to explain the following concepts:
* [Formal Semantic Modeling: Model data using a formal semantic layer.](#formal-semantic-modeling)
* [Natural Language Knowledge: Enrich the AI's understanding with natural language.](#natural-language-knowledge)
* [Feedback-Based Context: Improve accuracy by directly incorporating user feedback.](#feedback-based-context)
## Formal Semantic Modeling
This section outlines the core concepts behind translating raw database structures into a well-defined, business-friendly semantic layer. This allows users to interact with data in familiar business terms.
### Table and column documentation
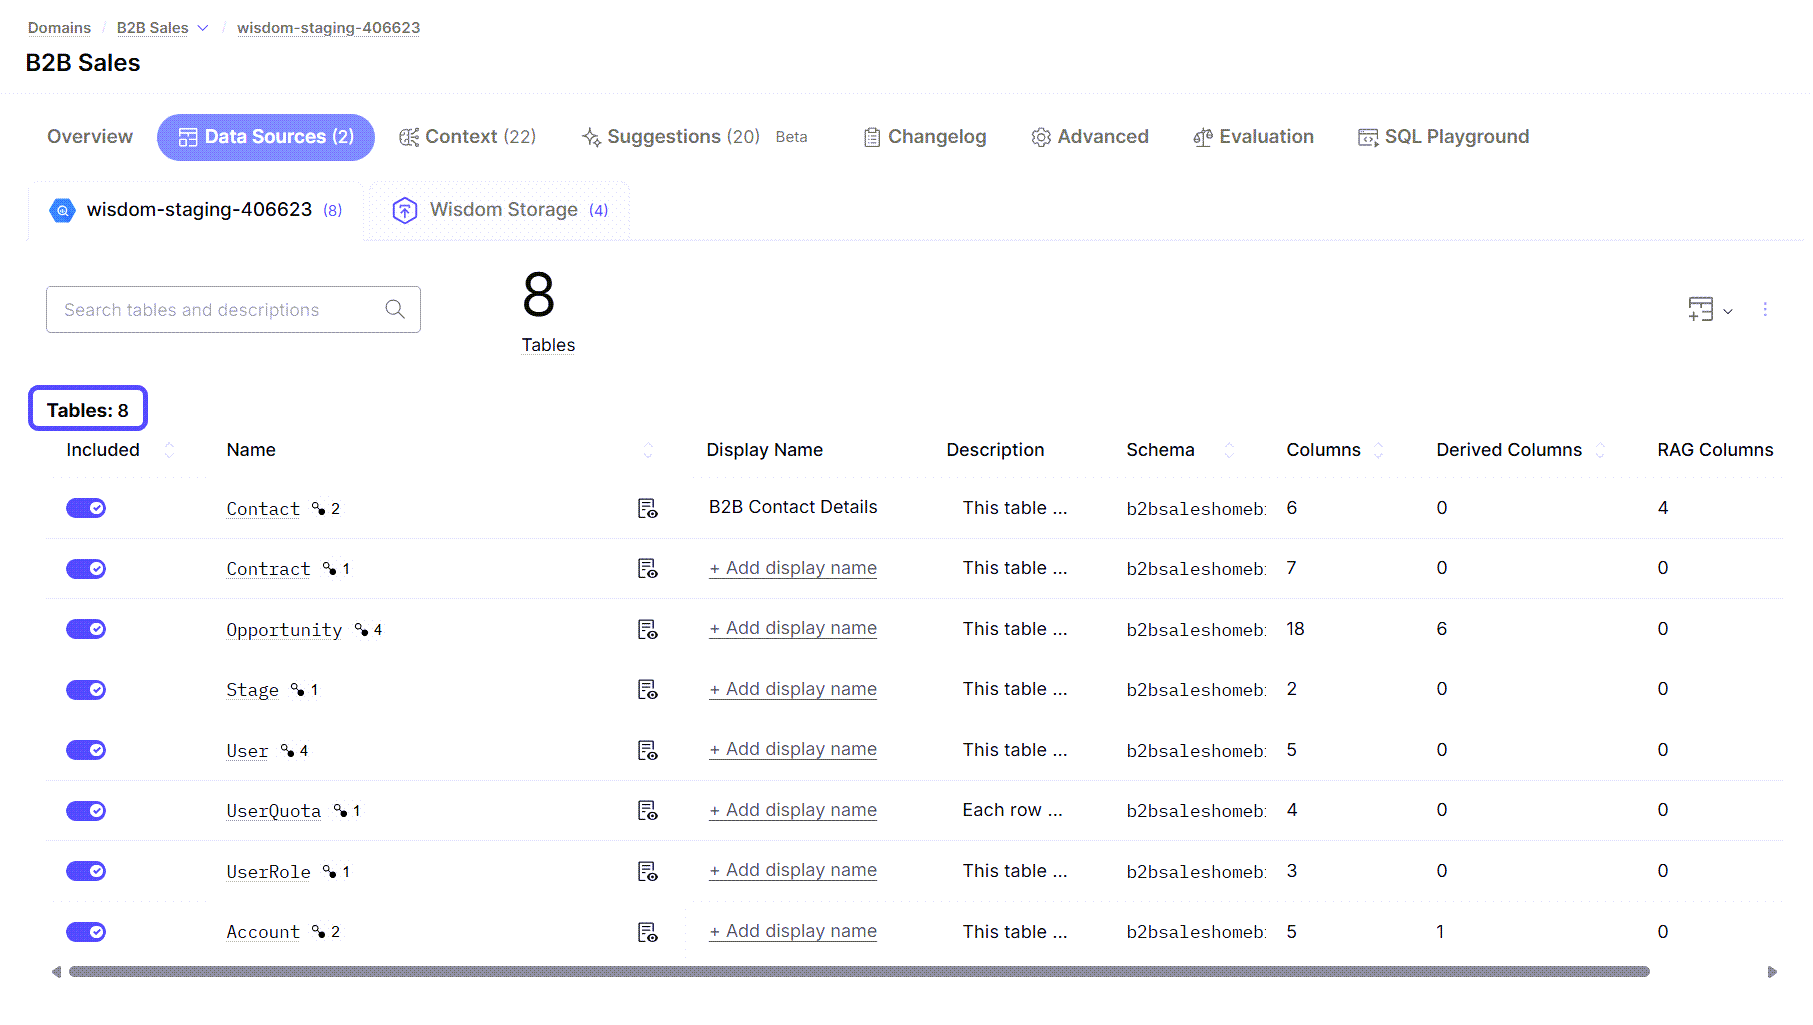
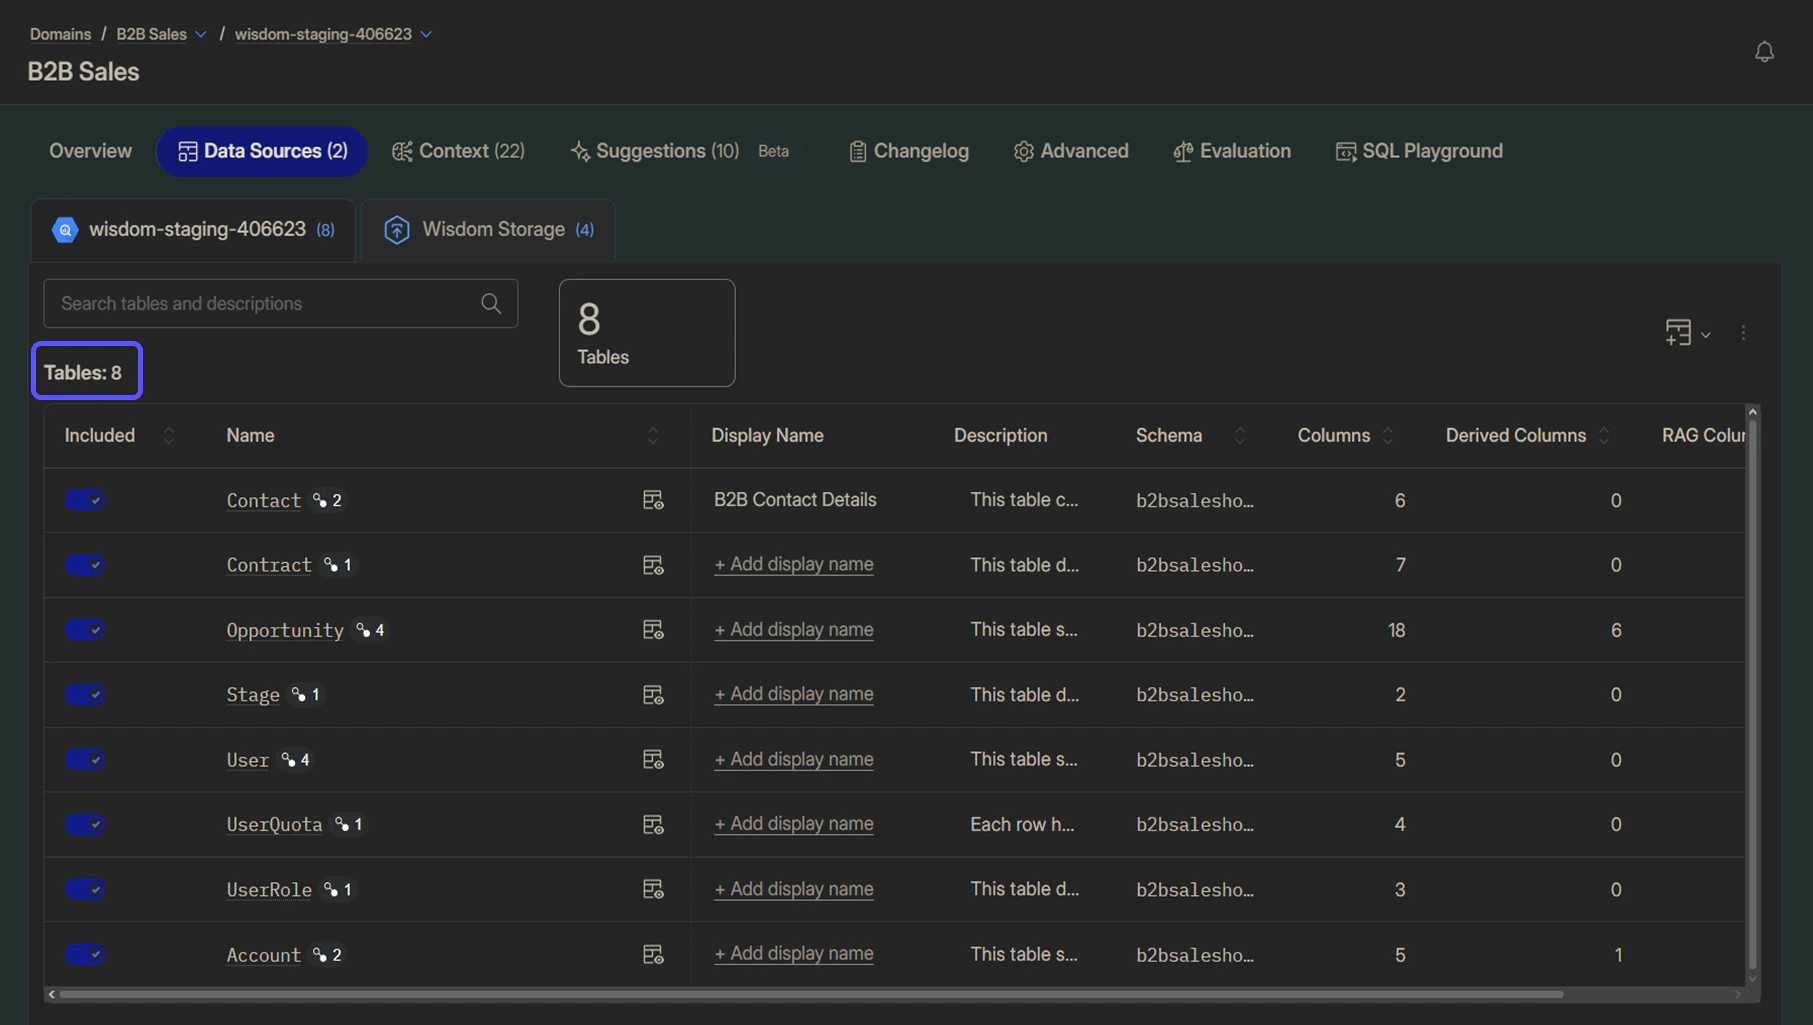
Properly documenting tables and columns provides foundational context to enable effective analytics. For each table, provide a clear, plain-English description of what the table represents, and include a statement of what each row's granularity represents, such as, "*Each row represents a single sales transaction from a point-of-sale system*". For each column, define a user-friendly Display Name, a Description in business terms, and a Display Format.
For a detailed guide on this topic, please refer to our article [Document Tables and Columns](/setting-up-wisdom-ai/manage-tables-columns/document-tables-and-columns).
 ### Defining Entities
An Entity is a business-critical object, such as "Account" or "Product," represented within the Data Graph. In WisdomAI, these entities are prioritized in the chat experience to enhance user understanding and interaction.
When an entity is defined, WisdomAI automatically improves the chat response by:
* Replacing unintuitive ID columns with human-readable names.
* Displaying related columns to provide a more complete Context.
* Providing direct, automatically resolved answers.
* Generating external links to source systems, like Salesforce for an "Opportunity" or Zendesk for a "Case."
Creating an entity involves grouping columns from one or more data source tables into a logical business object that mirrors a real-world concept. This process includes naming the entity, mapping it to its underlying data tables, and configuring its properties, such as its primary key and the field that will serve as its default display name.
### Defining Entities
An Entity is a business-critical object, such as "Account" or "Product," represented within the Data Graph. In WisdomAI, these entities are prioritized in the chat experience to enhance user understanding and interaction.
When an entity is defined, WisdomAI automatically improves the chat response by:
* Replacing unintuitive ID columns with human-readable names.
* Displaying related columns to provide a more complete Context.
* Providing direct, automatically resolved answers.
* Generating external links to source systems, like Salesforce for an "Opportunity" or Zendesk for a "Case."
Creating an entity involves grouping columns from one or more data source tables into a logical business object that mirrors a real-world concept. This process includes naming the entity, mapping it to its underlying data tables, and configuring its properties, such as its primary key and the field that will serve as its default display name.
 ### Establishing relationships
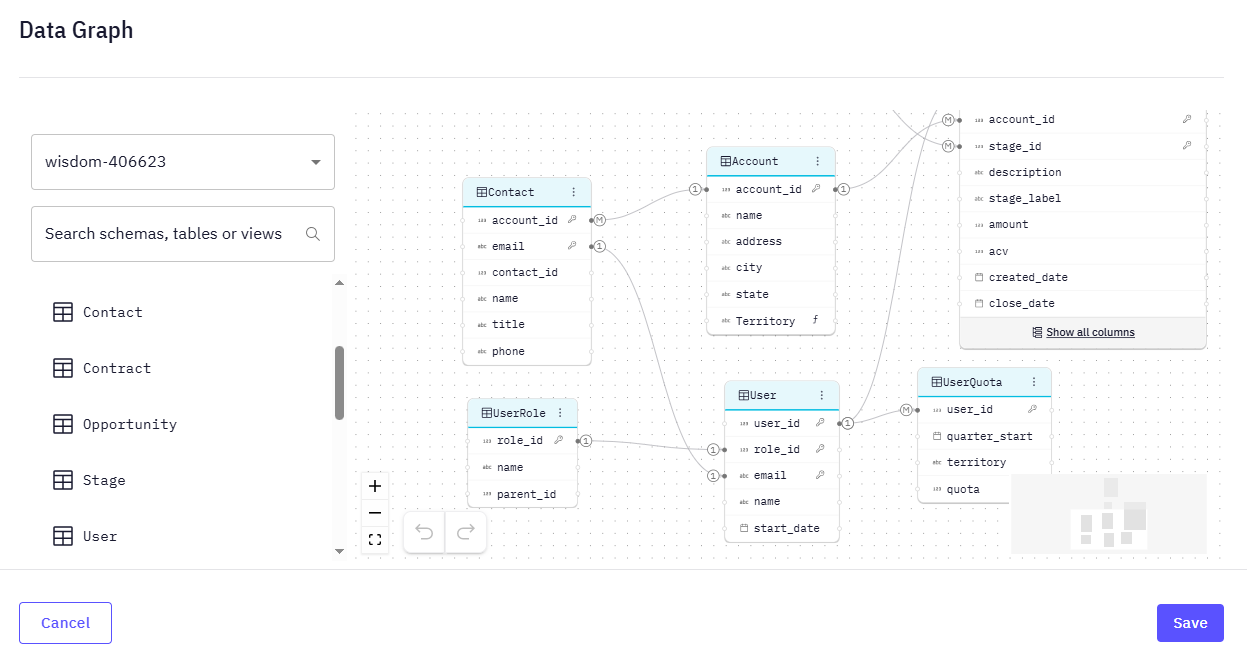
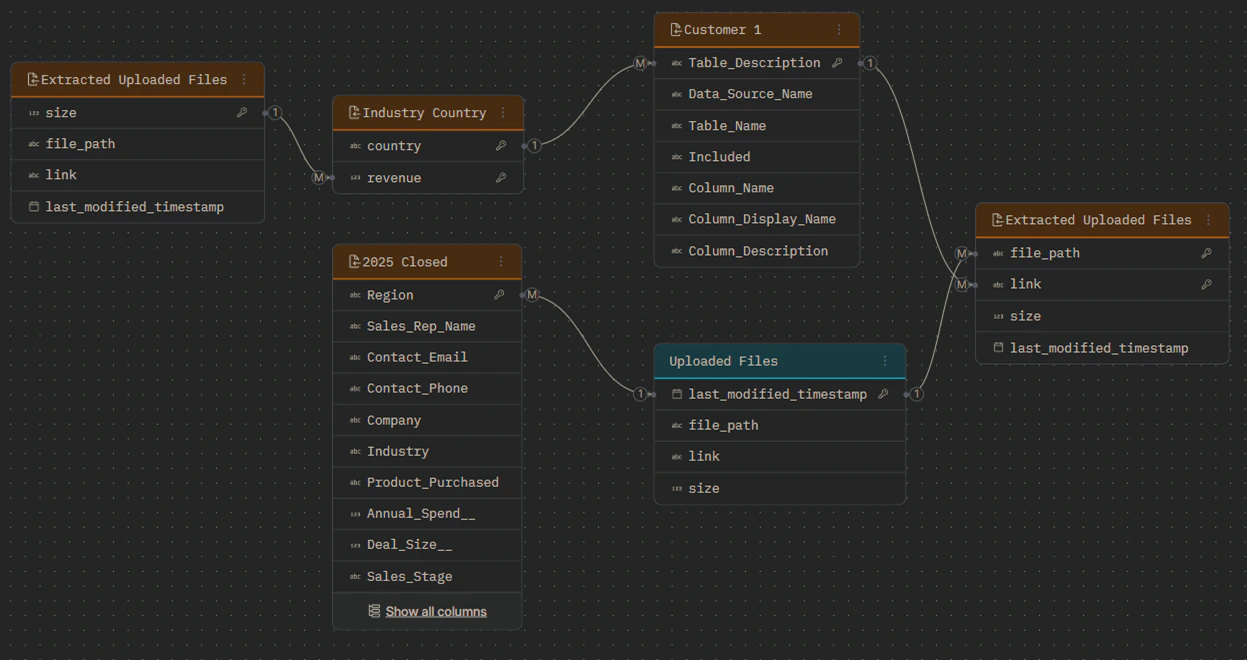
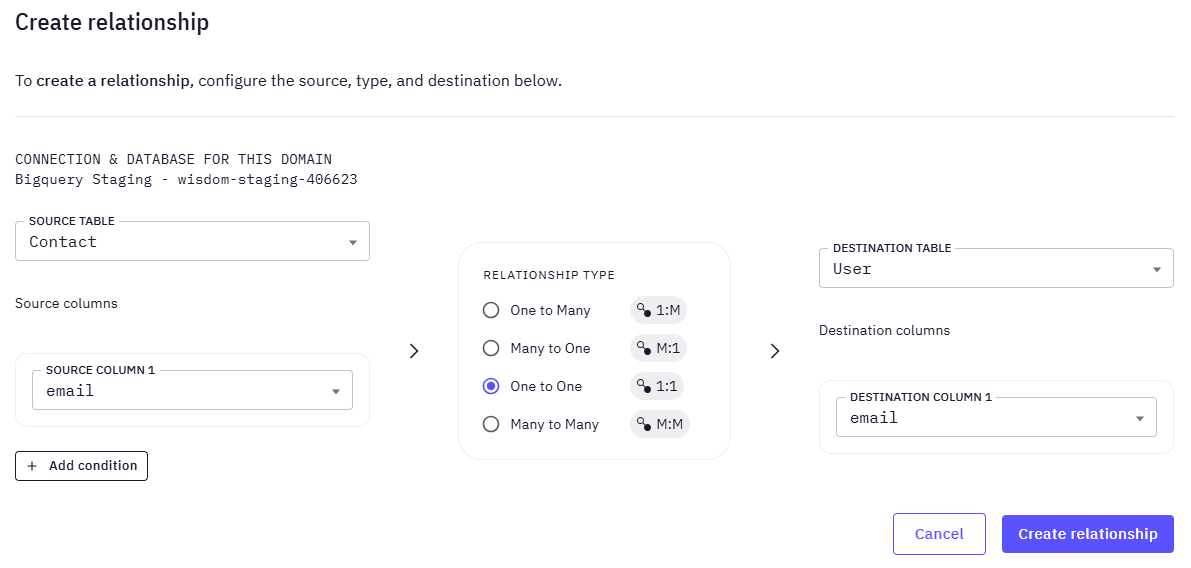
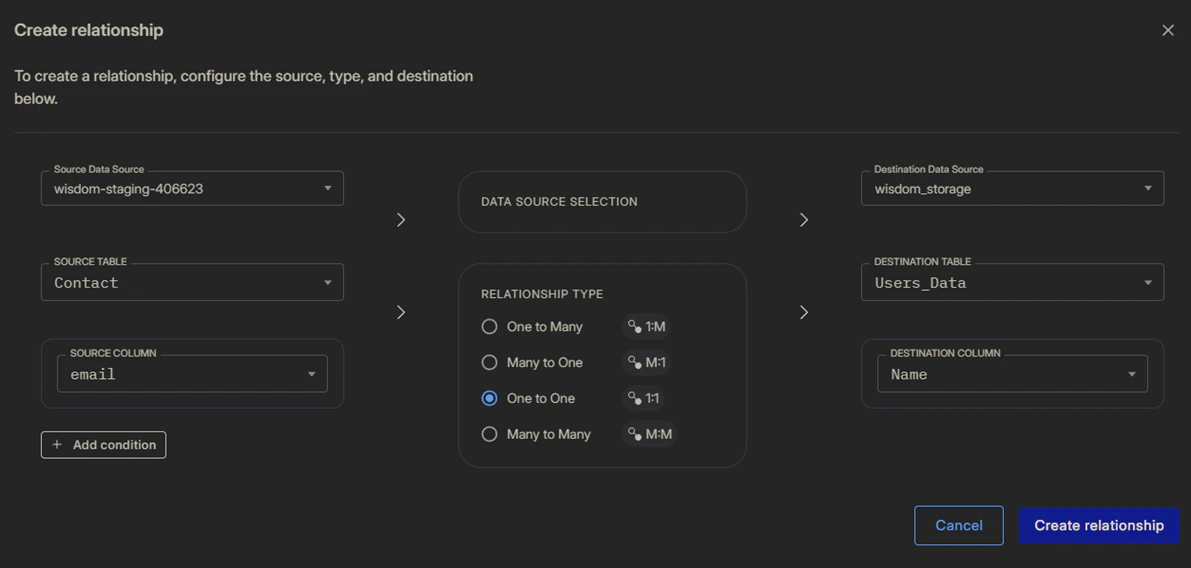
Define the connections between entities to enable precise data-model navigation. Create relationships by selecting the source and target tables and their corresponding attributes. You must configure the relationship's cardinality (1:1, 1:M, M:M).
Use join cardinality carefully, as incorrect settings can drastically change query results and lead to missing or duplicated data.
### Establishing relationships
Define the connections between entities to enable precise data-model navigation. Create relationships by selecting the source and target tables and their corresponding attributes. You must configure the relationship's cardinality (1:1, 1:M, M:M).
Use join cardinality carefully, as incorrect settings can drastically change query results and lead to missing or duplicated data.
 ### Creating Metrics
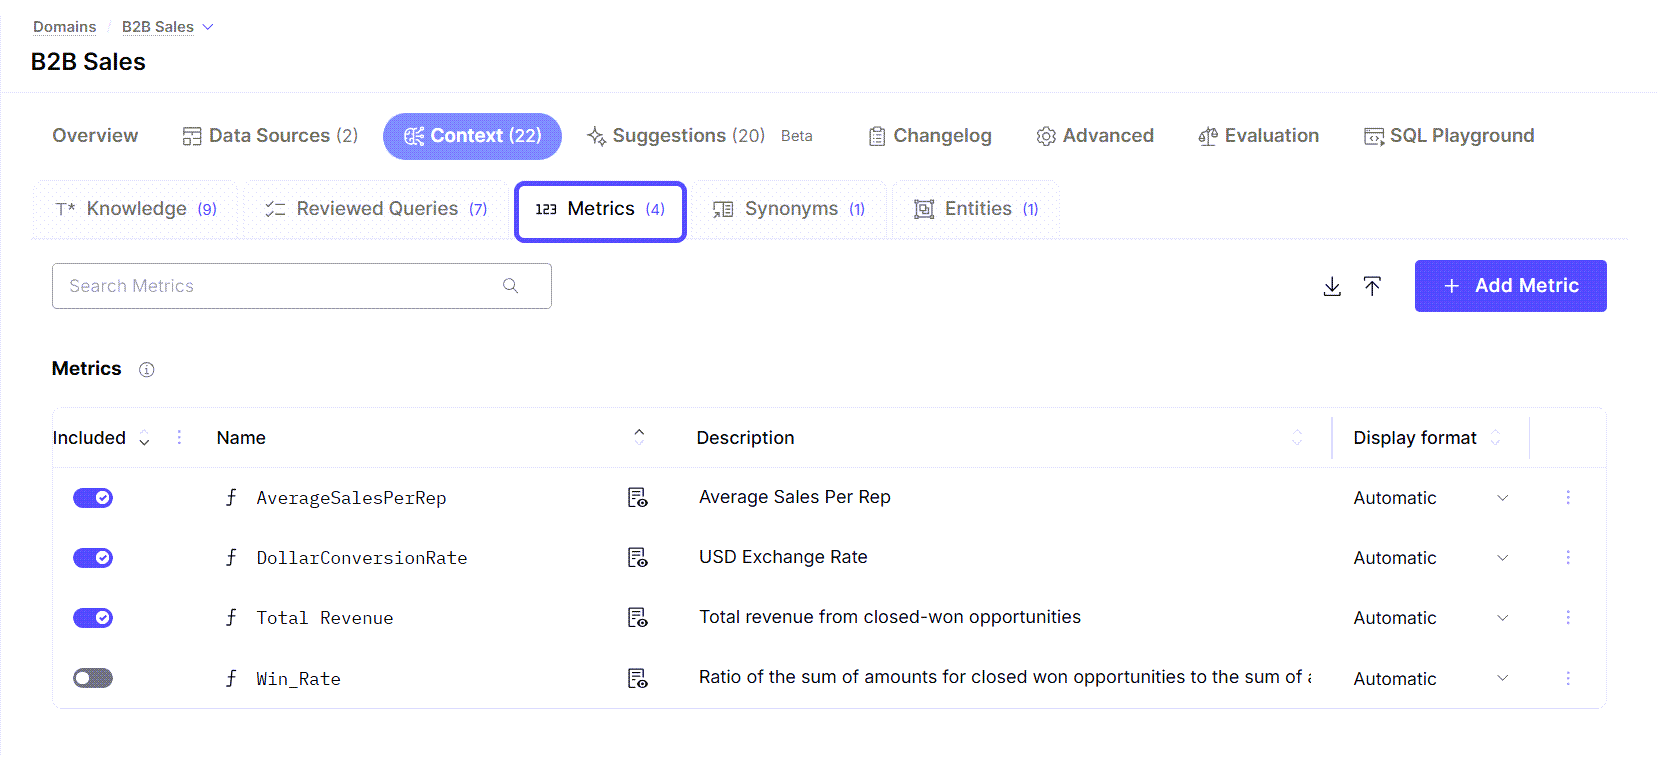
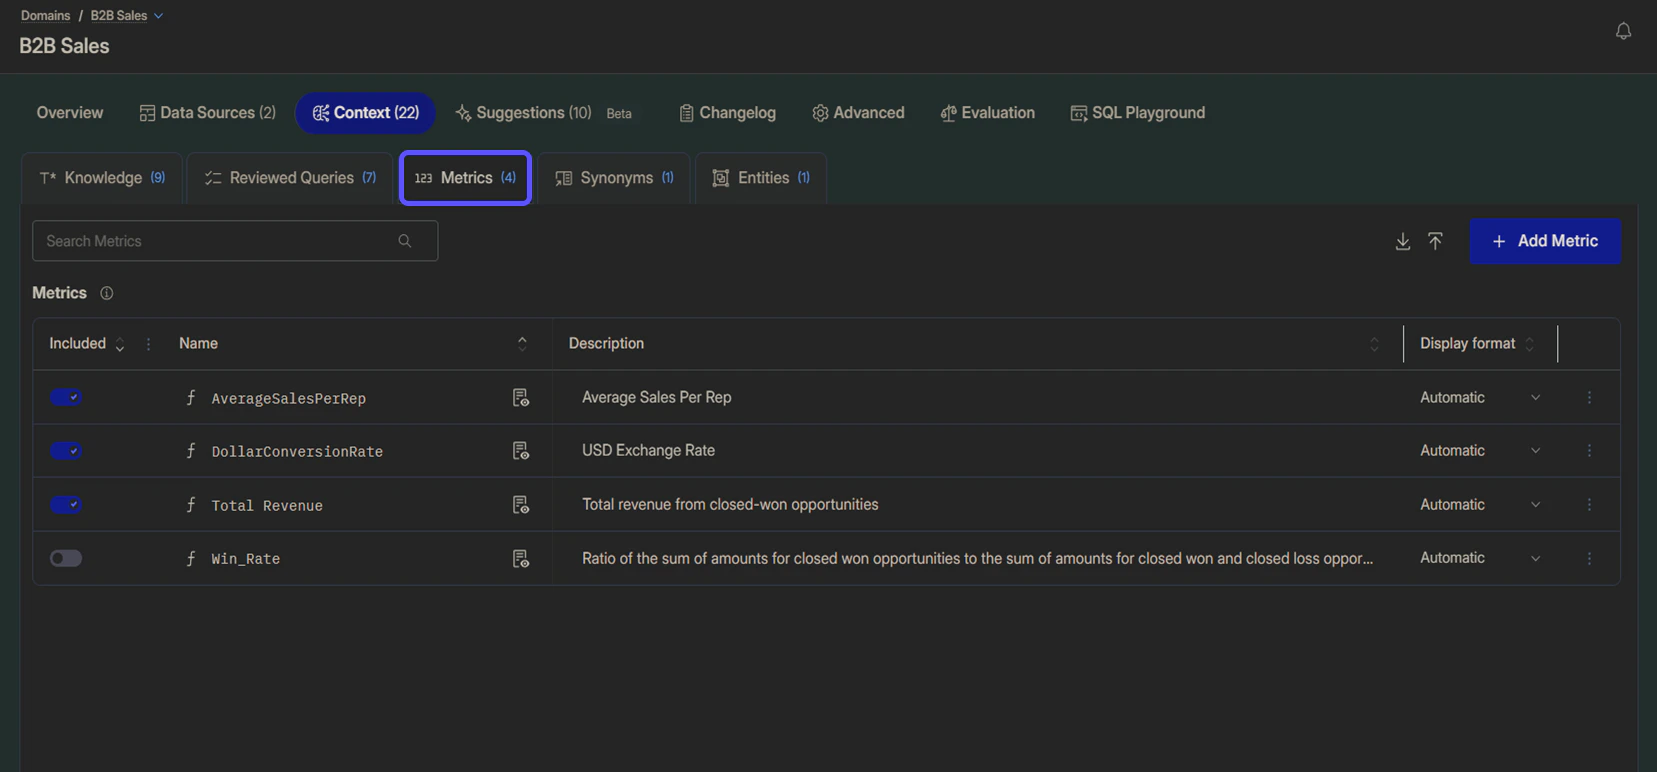
Define standard calculations to enforce consistent business logic and simplify analysis for end-users. This involves creating Metrics, quantifiable business calculations such as Revenue or Conversion Rate, defined with SQL expressions and reusable across the organization.
For a comprehensive guide on this topic, including step-by-step instructions and detailed examples, please refer to our full article, [How to Create Metrics](/improve-wisdom-ai-responses/how-to-create-metrics).
### Creating Metrics
Define standard calculations to enforce consistent business logic and simplify analysis for end-users. This involves creating Metrics, quantifiable business calculations such as Revenue or Conversion Rate, defined with SQL expressions and reusable across the organization.
For a comprehensive guide on this topic, including step-by-step instructions and detailed examples, please refer to our full article, [How to Create Metrics](/improve-wisdom-ai-responses/how-to-create-metrics).
 ### Data model augmentation
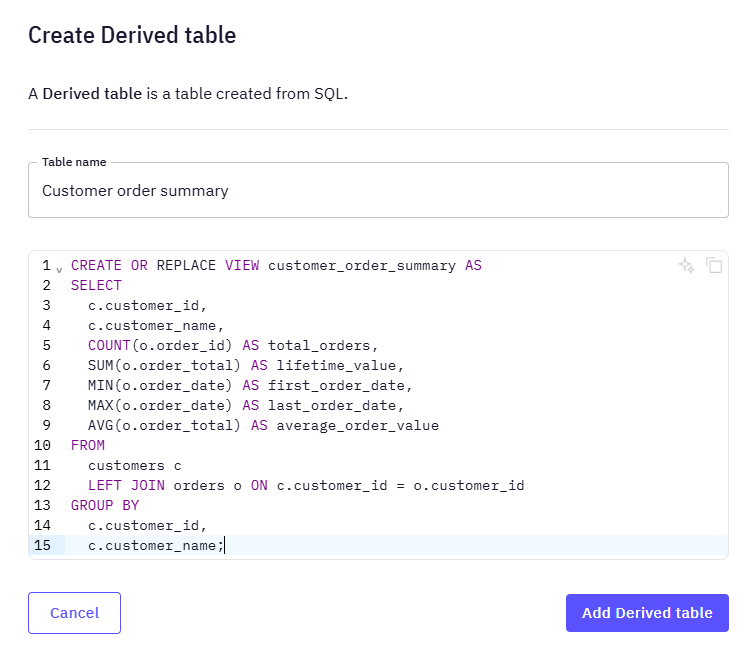
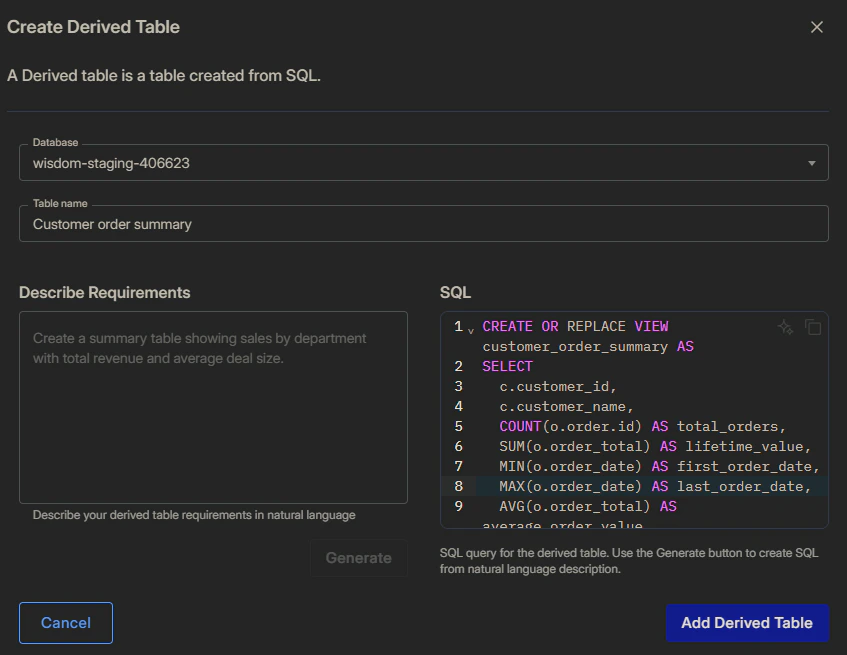
Augment your data model with derived tables and columns using standard SQL syntax. Derived Columns and Tables are calculated fields or virtual tables created with SQL to clean, enrich, or simplify complex underlying data. These augmentations can be used to:
* **Clean Data:** Standardize formats, handle missing values, fix inconsistencies.
* **Enrich Data:** Add business context, derive new metrics, categorize values.
* **Simplify Analysis:** Create business-friendly views of complex underlying data.
### Data model augmentation
Augment your data model with derived tables and columns using standard SQL syntax. Derived Columns and Tables are calculated fields or virtual tables created with SQL to clean, enrich, or simplify complex underlying data. These augmentations can be used to:
* **Clean Data:** Standardize formats, handle missing values, fix inconsistencies.
* **Enrich Data:** Add business context, derive new metrics, categorize values.
* **Simplify Analysis:** Create business-friendly views of complex underlying data.
 ## Natural language Knowledge
This section covers the methods for providing the AI with unstructured, domain-specific knowledge that is difficult to capture in a formal data model, such as business rules or specific terminology.
### Manual Knowledge entry
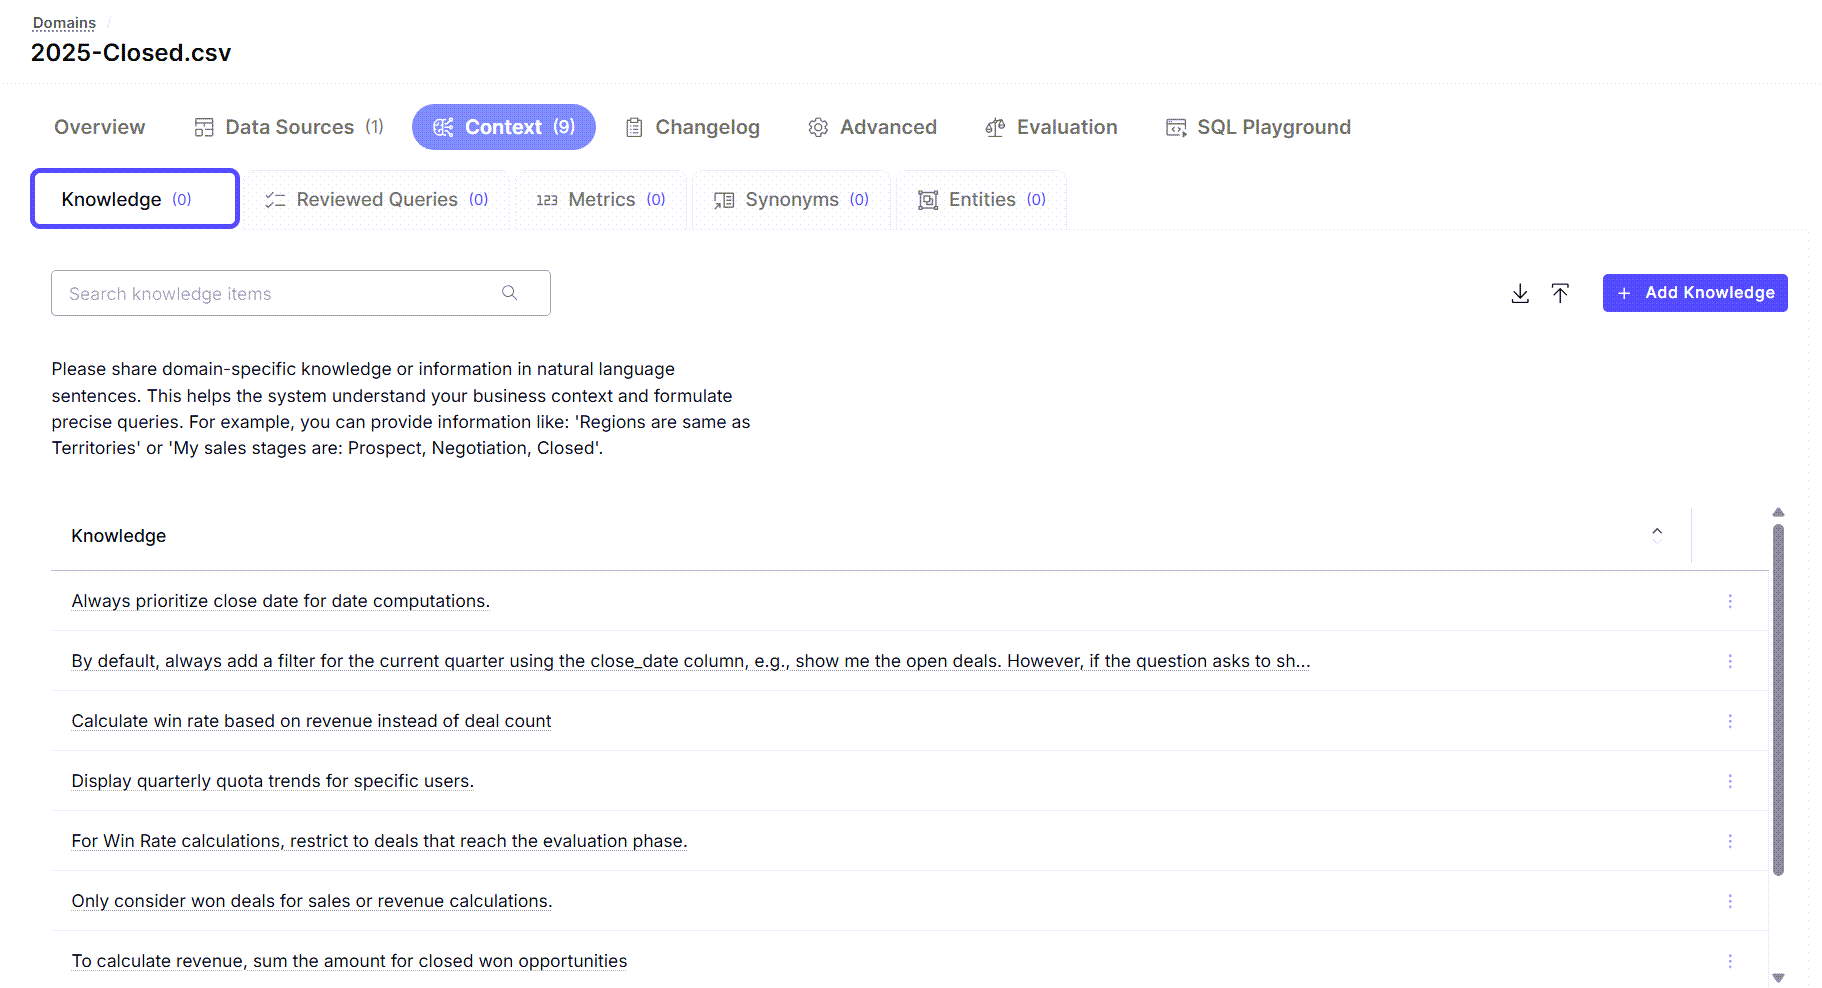
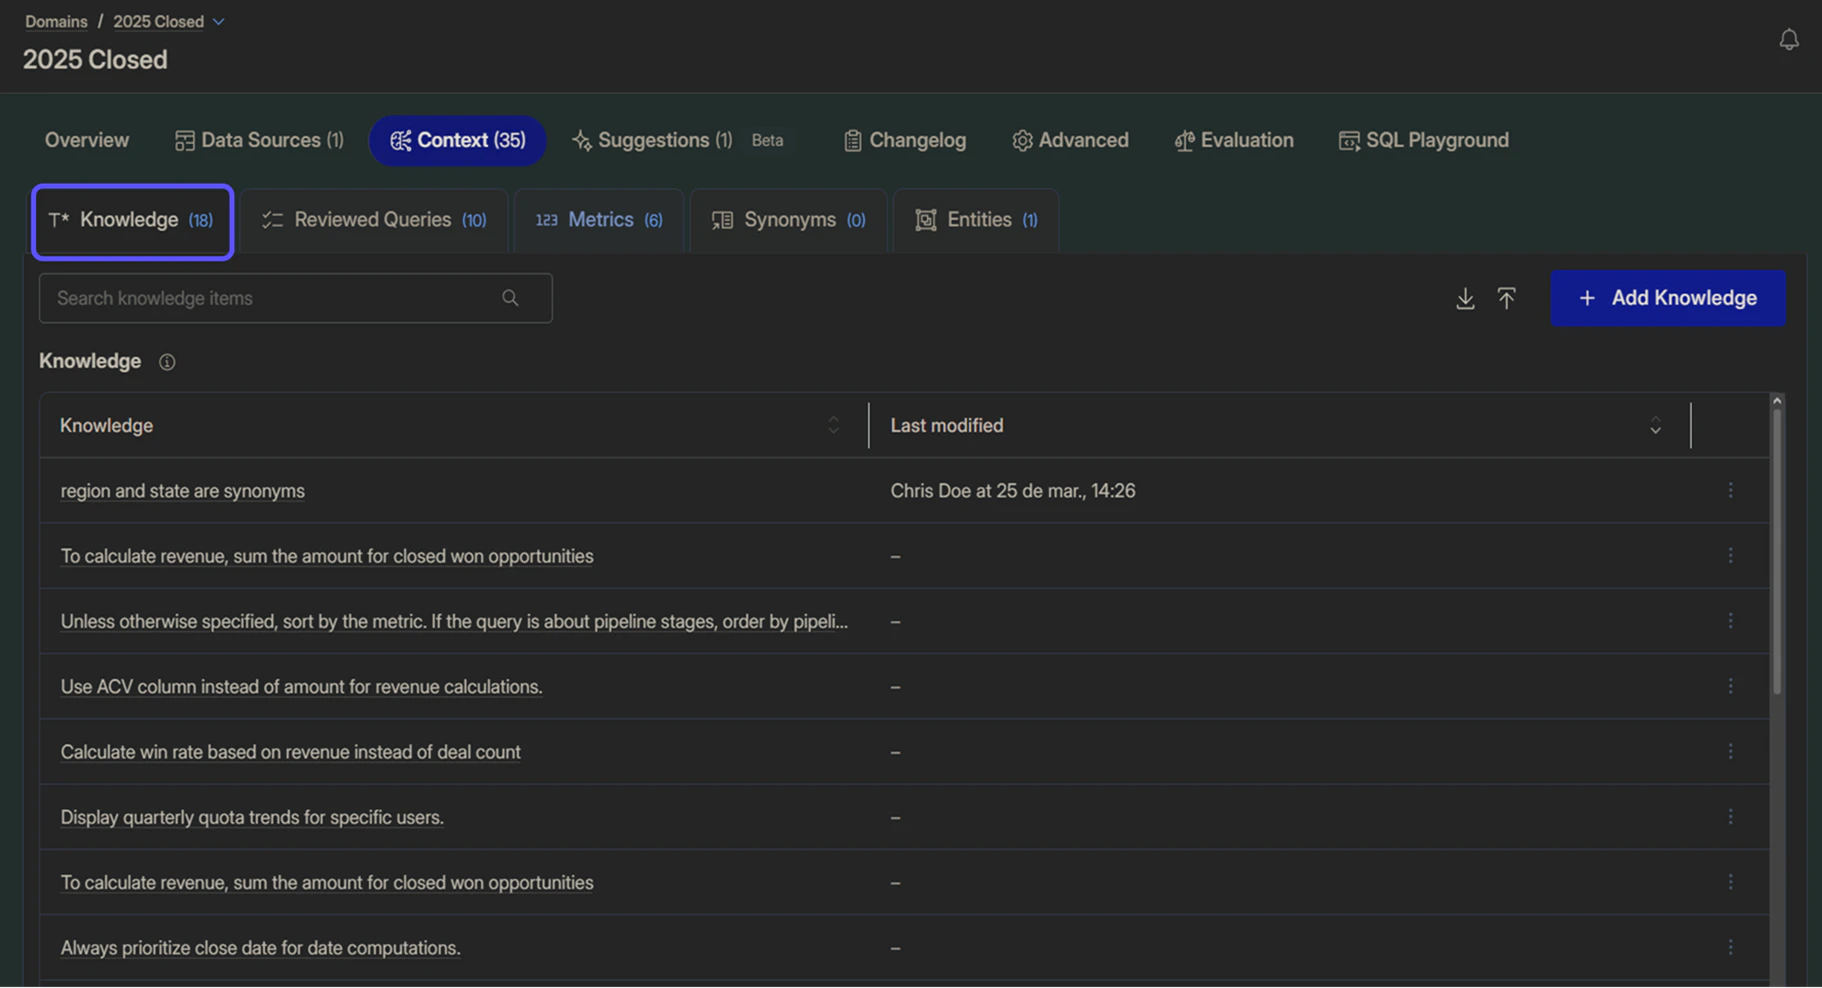
Add domain-specific knowledge, rules, or naming conventions in natural language sentences to guide the AI’s understanding. An example is: "*Regions are the same as Territories*." This improves accuracy by helping the system interpret ambiguous terms and captures knowledge that does not exist in the database schema. It is crucial to validate the impact of manual entries by asking a question in the chat interface to see if the response is as expected.
To learn how to add Knowledge, read the article [Add Domain-Specific Knowledge](/setting-up-wisdom-ai/add-domain-specific-knowledge). There, you will find an example of how the response changes after you add Knowledge.
## Natural language Knowledge
This section covers the methods for providing the AI with unstructured, domain-specific knowledge that is difficult to capture in a formal data model, such as business rules or specific terminology.
### Manual Knowledge entry
Add domain-specific knowledge, rules, or naming conventions in natural language sentences to guide the AI’s understanding. An example is: "*Regions are the same as Territories*." This improves accuracy by helping the system interpret ambiguous terms and captures knowledge that does not exist in the database schema. It is crucial to validate the impact of manual entries by asking a question in the chat interface to see if the response is as expected.
To learn how to add Knowledge, read the article [Add Domain-Specific Knowledge](/setting-up-wisdom-ai/add-domain-specific-knowledge). There, you will find an example of how the response changes after you add Knowledge.
 ### Importing unstructured Context (beta)
Enhance the AI’s Context by importing knowledge directly from existing business and technical documents. This process is handled through the 'Chat' window, which provides an interactive interface for selectively extracting Context. Supported information types that can be imported include:
* **ERD Diagrams:** Extract entity relationships from diagram images.
* **dbt Files:** Import transformation logic and metric definitions.
* **SQL Queries**: Learn from existing queries and report definitions.
* **Data Dictionaries:** Import field descriptions and business definitions.
* **Business Glossaries:** Learn industry and company-specific terminology.
* **CSV files:** Import master data, mapping tables, or lists of business entities to learn categorical values and key dimensions (e.g., product catalogs, regional hierarchies, or customer segments).
To learn how to upload CSV files, read the [Basic Tutorial](https://docs.askwisdom.ai/setting-up-wisdom-ai/basic-tutorial-connect-and-test#upload-csv-files). Speak with your WisdomAI representative to enable any of the other features.
## Feedback-based Context
This section describes the continuous learning loop, where direct user feedback on AI-generated responses is used to validate and refine the system's knowledge and accuracy over time.
### Creating Reviewed Queries
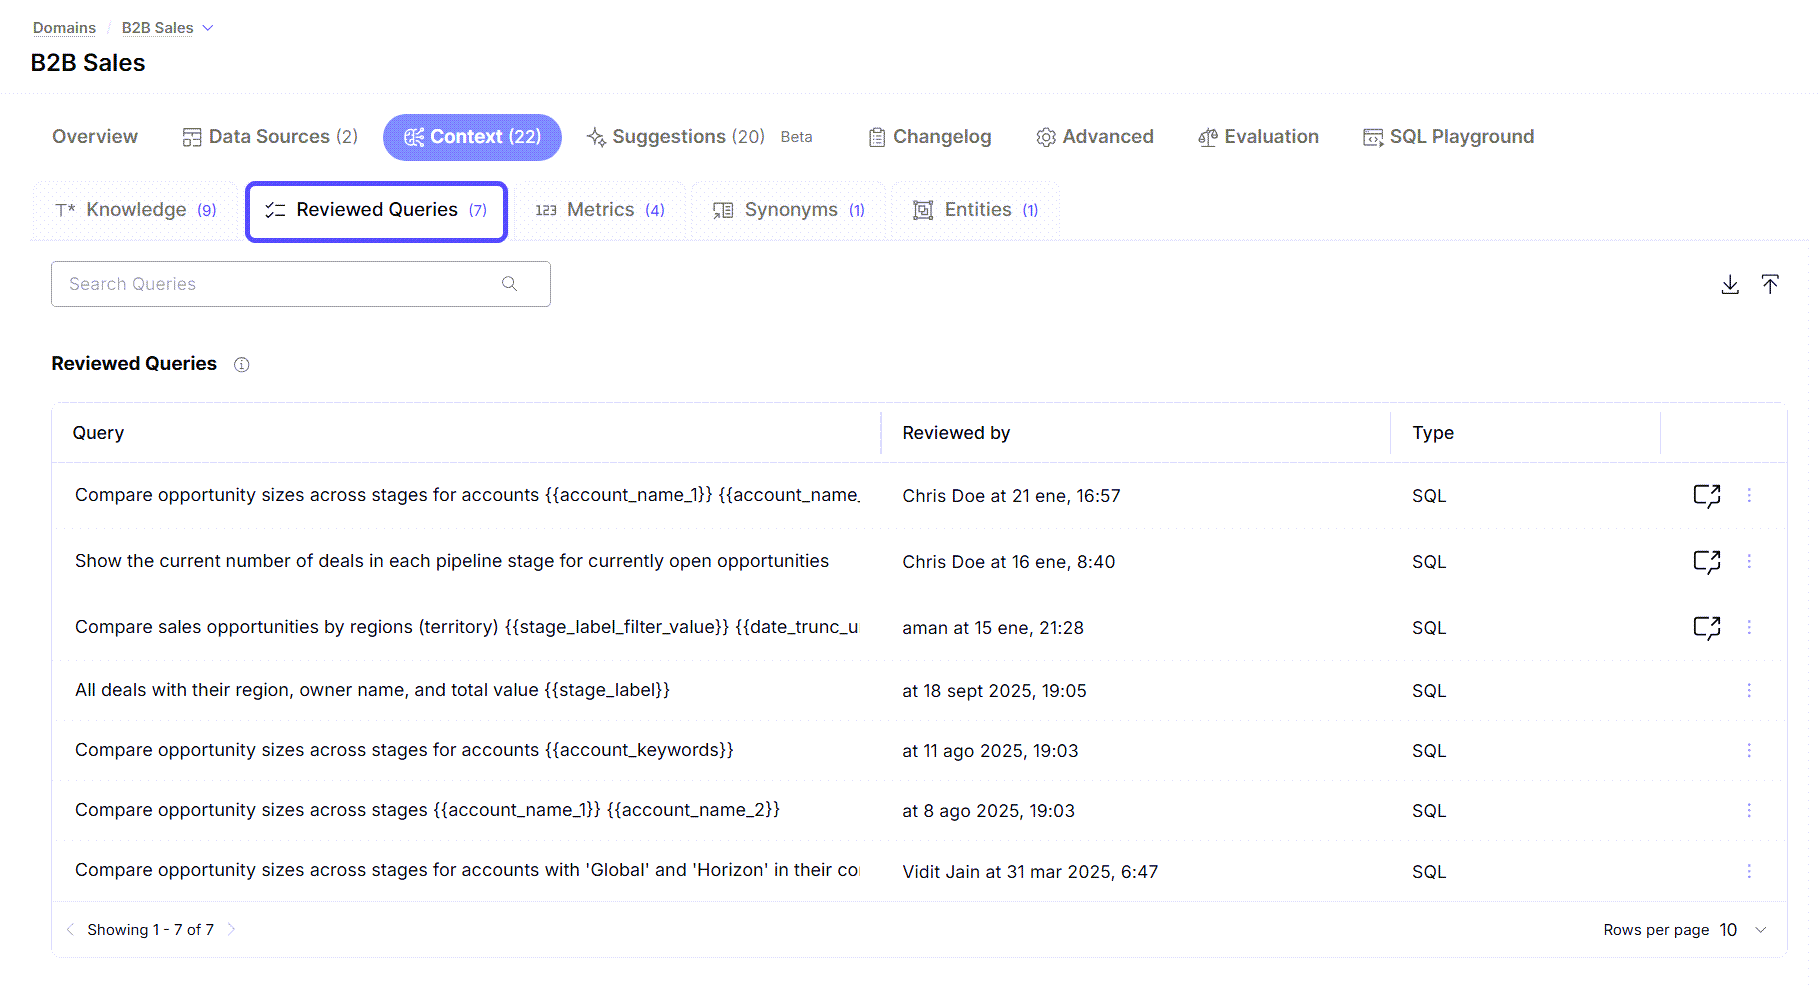
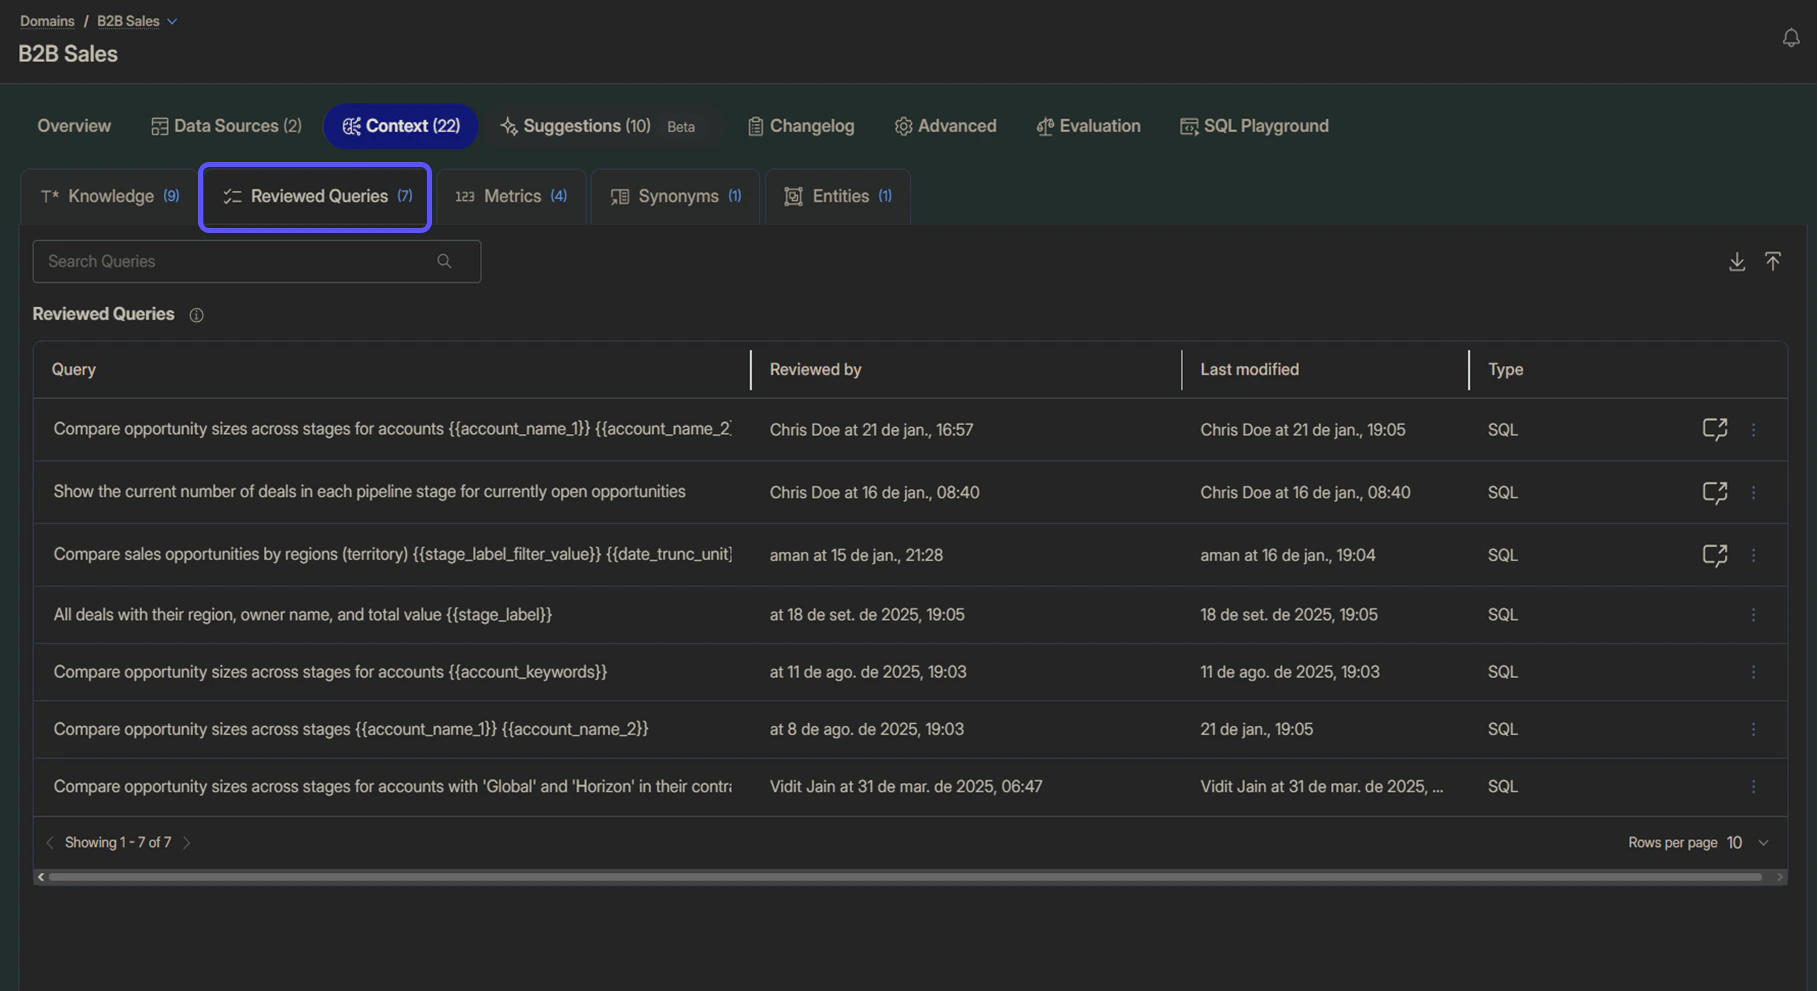
Create a library of pre-vetted queries by pairing a natural language question with its ideal SQL response. This is the most critical aspect of Context for the language model to understand your data. Reviewed Queries are created from the chat experience by giving a "thumbs up" to a correct response, then confirming the natural-language question that the SQL code answers. This process ensures accuracy and consistency for common business questions.
To learn more about validating your queries, refer to the [Reviewed Queries](/setting-up-wisdom-ai/feedback-mechanisms/reviewed-queries) article.
### Importing unstructured Context (beta)
Enhance the AI’s Context by importing knowledge directly from existing business and technical documents. This process is handled through the 'Chat' window, which provides an interactive interface for selectively extracting Context. Supported information types that can be imported include:
* **ERD Diagrams:** Extract entity relationships from diagram images.
* **dbt Files:** Import transformation logic and metric definitions.
* **SQL Queries**: Learn from existing queries and report definitions.
* **Data Dictionaries:** Import field descriptions and business definitions.
* **Business Glossaries:** Learn industry and company-specific terminology.
* **CSV files:** Import master data, mapping tables, or lists of business entities to learn categorical values and key dimensions (e.g., product catalogs, regional hierarchies, or customer segments).
To learn how to upload CSV files, read the [Basic Tutorial](https://docs.askwisdom.ai/setting-up-wisdom-ai/basic-tutorial-connect-and-test#upload-csv-files). Speak with your WisdomAI representative to enable any of the other features.
## Feedback-based Context
This section describes the continuous learning loop, where direct user feedback on AI-generated responses is used to validate and refine the system's knowledge and accuracy over time.
### Creating Reviewed Queries
Create a library of pre-vetted queries by pairing a natural language question with its ideal SQL response. This is the most critical aspect of Context for the language model to understand your data. Reviewed Queries are created from the chat experience by giving a "thumbs up" to a correct response, then confirming the natural-language question that the SQL code answers. This process ensures accuracy and consistency for common business questions.
To learn more about validating your queries, refer to the [Reviewed Queries](/setting-up-wisdom-ai/feedback-mechanisms/reviewed-queries) article.
 ### Advanced feedback and corrections
Provide direct feedback to correct the AI and allow power users to refine the underlying SQL, creating a robust knowledge base from user interactions. Users can mark responses as incorrect to flag them for review.
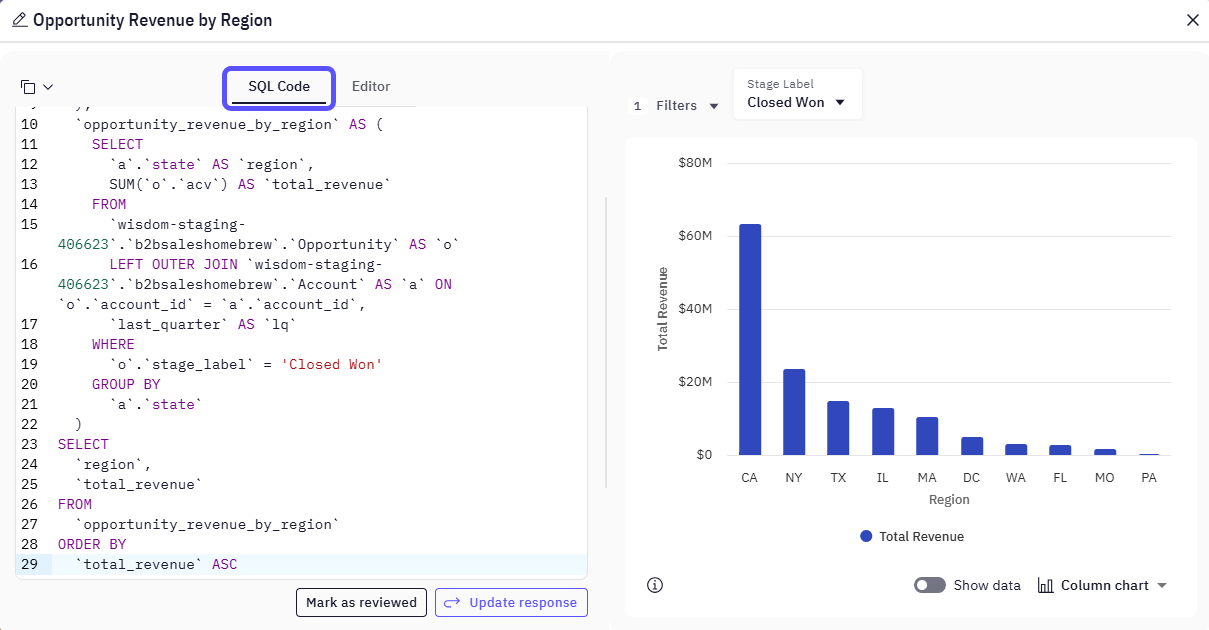
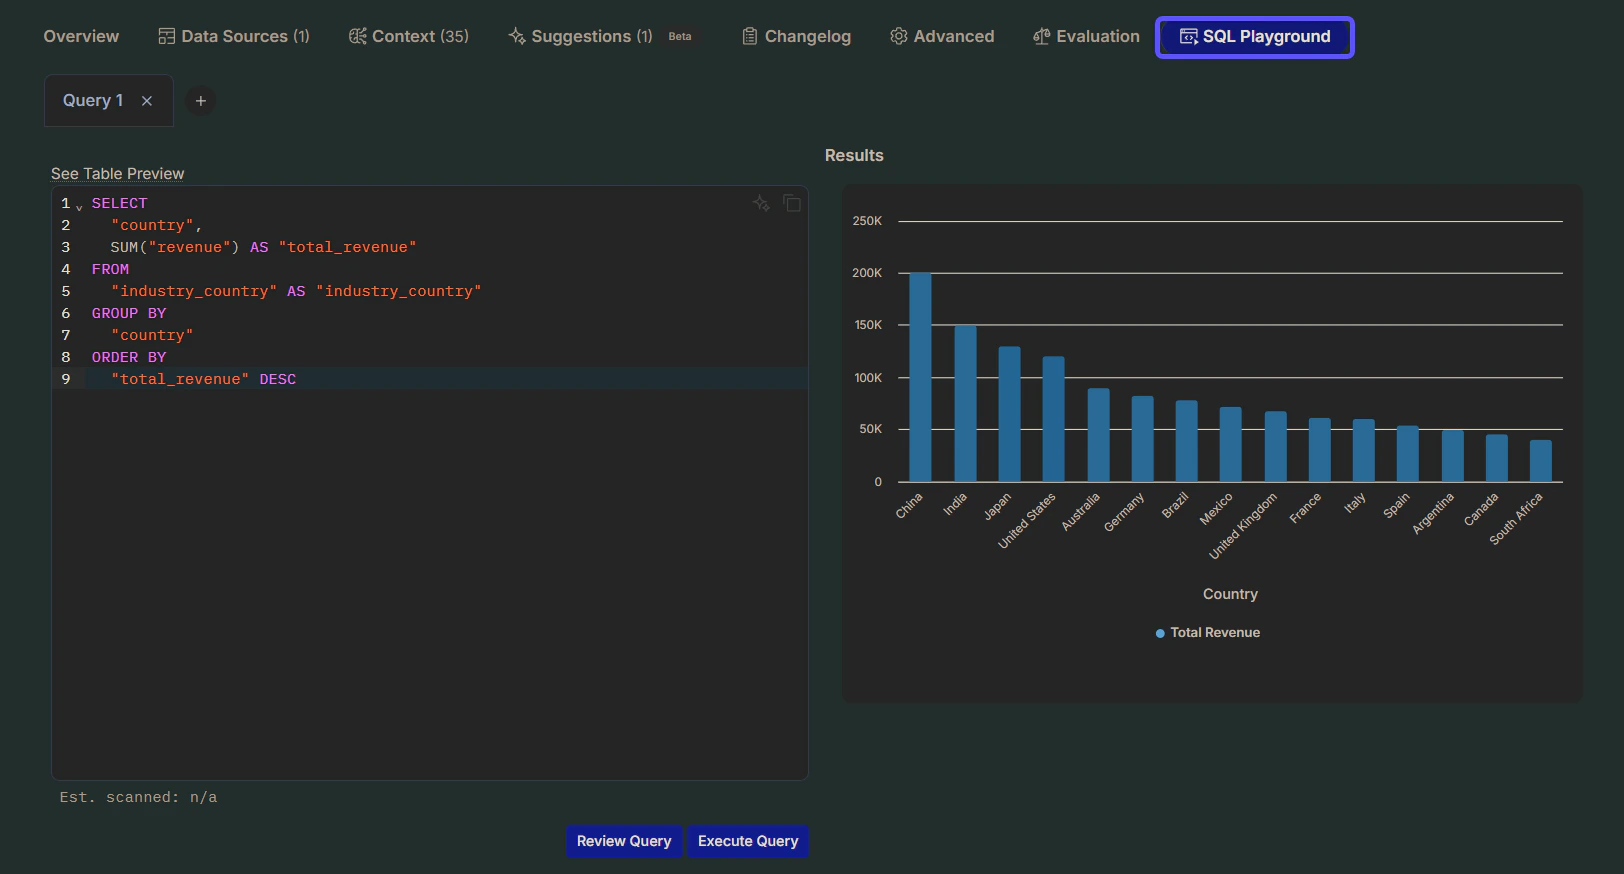
* [**SQL Editing for Power Users**](https://docs.askwisdom.ai/setting-up-wisdom-ai/feedback-mechanisms/provide-feedback-to-the-system#advanced-feedback-mechanisms-for-administrators): Each answer in the chat includes an "Edit" button that allows Admin users to modify the underlying SQL query directly to fix calculation issues, add joins, or modify filters. Edited queries become part of the system's knowledge base for handling similar questions in the future.
* [**Negative Feedback Workflow**](/setting-up-wisdom-ai/feedback-mechanisms/monitor-negative-feedback): Negative feedback is channeled to administrators for review. This is managed through visual indicators that highlight chats with negative feedback and automatic email notifications sent to administrators for prompt attention.
### Advanced feedback and corrections
Provide direct feedback to correct the AI and allow power users to refine the underlying SQL, creating a robust knowledge base from user interactions. Users can mark responses as incorrect to flag them for review.
* [**SQL Editing for Power Users**](https://docs.askwisdom.ai/setting-up-wisdom-ai/feedback-mechanisms/provide-feedback-to-the-system#advanced-feedback-mechanisms-for-administrators): Each answer in the chat includes an "Edit" button that allows Admin users to modify the underlying SQL query directly to fix calculation issues, add joins, or modify filters. Edited queries become part of the system's knowledge base for handling similar questions in the future.
* [**Negative Feedback Workflow**](/setting-up-wisdom-ai/feedback-mechanisms/monitor-negative-feedback): Negative feedback is channeled to administrators for review. This is managed through visual indicators that highlight chats with negative feedback and automatic email notifications sent to administrators for prompt attention.
 ## **Next steps**
Review query history and system activity to ensure compliance and accuracy.
Learn how to rate answers and provide corrections to improve the system's accuracy.
Understand the methods for verifying the correctness and reliability of generated answers.
## **Next steps**
Review query history and system activity to ensure compliance and accuracy.
Learn how to rate answers and provide corrections to improve the system's accuracy.
Understand the methods for verifying the correctness and reliability of generated answers.